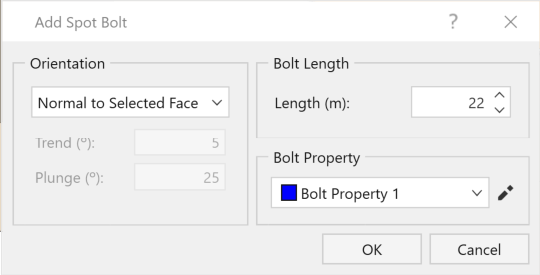
Add Spot Bolts
Rock bolts are added to a RocSlope2 model in the Support menu tab.
To add a bolt:
- Select Support > Spot Bolts > Add

- Move the cursor into one of the Analysis Windows. The cursor will turn blue when hovering over the block(s), indicating that a bolt can be placed.
- Click to add a bolt in the desired location on the block.
- The Add Spot Bolt dialog will appear on the screen, which allows you to modify the Bolt Orientation, Length, and select the Bolt Property.
- When the desired values have been entered, select OK.
- If you'd like to abandon the bolt placement, select Cancel to delete the bolt.

Bolts can only be added in the 3D View of each model. If the user is in the 2D View for the applicable models, the Spot Bolt cannot be placed. See the 2D and 3D Views topic for information about disabling/enabling these settings.