Add Piles
The Add Pile option allows to you add a single pile or multiple piles to your RS2 model.
To add piles:
- Select
 Add Pile from the toolbar or the Support menu.
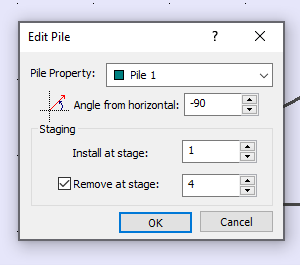
 - You will see the Add Pile dialog. In the dialog, enter the following information and select OK.

Pile Property – The pile properties determine the length, connection type, Out of plane Spacing and other aspects of the piles. More details can be found in Pile Property help topic.
Angle from Horizontal – Orientation of the pile.

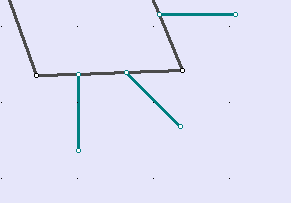
Left = -90, Centre= -45 Right =0.0
Staging
if your model is staged, you can specify the installation (and removal) stage of the pile(s).
Install at stage - by default, the installation stage will be set to the stage that you are currently viewing (i.e. the currently selected stage tab). You can enter a different stage if necessary.
Remove at stage - (optional) you can also specify a removal stage, by selecting the Remove at stage check box and entering the stage at which the bolt(s) are to be removed (uninstalled).
Notes:
- If part of pile goes thru excavation – it will be removed
- If beam on pile goes thru excavation – it will be auto-removed if auto-remove option is on.
Pile Overlap
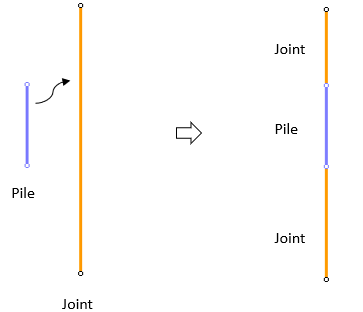
When a pile is added to an existing geometry that is any of the material, material boundary, structural interface, or joint, then the pile will override the underlying geometry. See below figure example for a pile overlapping a joint.
However, if the pile overlaps a bolt entity, instead of overriding, both layers will be kept.

Right-click menu options

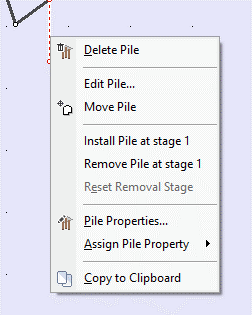
Users can use the right-click menu for quick access to the following options:
- Delete Pile
- Edit Pile
- Move Pile
- Install Pile at stage...
- Remove Pile at stage...
- Reset Removal Stage
- Pile Properties
- Assign Pile Property