Import/Remove Block Model
The Block Model import process commences with Materials > Import Block Model and is carried out via the Import Block Model wizard, which includes the following steps:
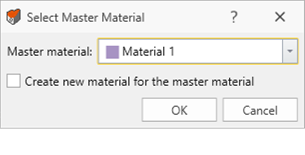
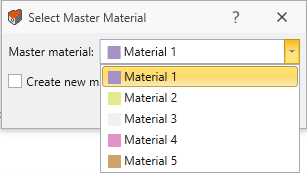
- The wizard starts with the assignment of a Master Material. Either select an existing material or create a new one to serve as the Master Material for the project.
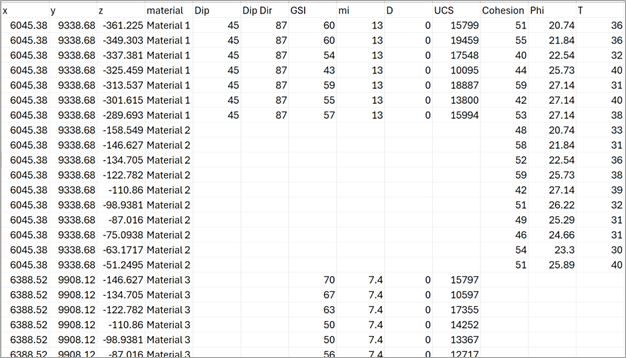
- Browse and select the CSV or text file containing the block model database.The database file must include at least the X, Y, and Z coordinates of each block's center, along with the material ID. Based on this information, RS3 intelligently forms a 3D grid with following predefined geometrical rules. Blocks must be cuboidal with consistent dimensions arranged in a 3D rectangular grid. Surface overlaps between blocks are not permitted, and adjacent blocks must fully cover the contact surfaces. The coordinates in the database should allow RS3 to define 3D block grids with consistent lengths along each axis, aligned along the Z-axis. Rock mass properties can also be provided on a per-block basis, and the parameters to be read from the database can be selected in the next step. If not defined, properties can be uniformly assigned per Child Material using the material dialog post-import. A sample CSV file of the block model database is shown below.
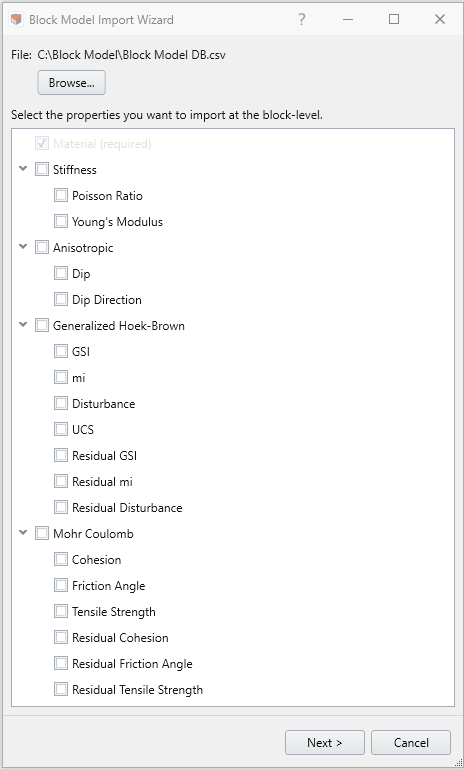
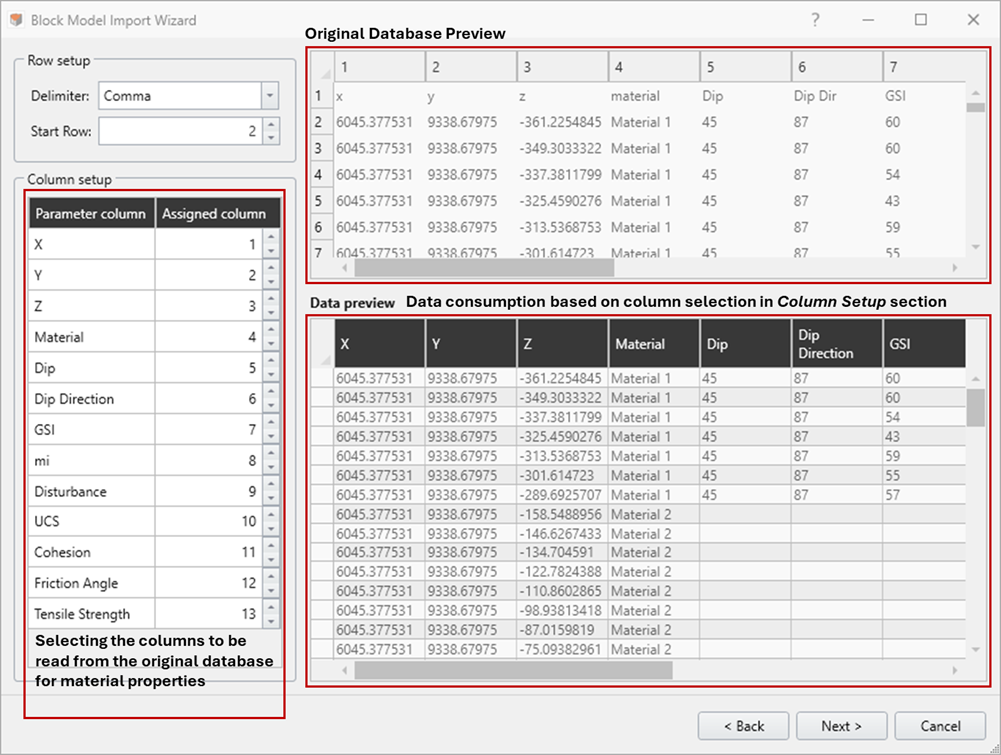
- Specify the material properties to be read from the database and defined at the block level.
- Identify the starting row for reading the data, and select the columns containing the material parameters to be applied to each block.
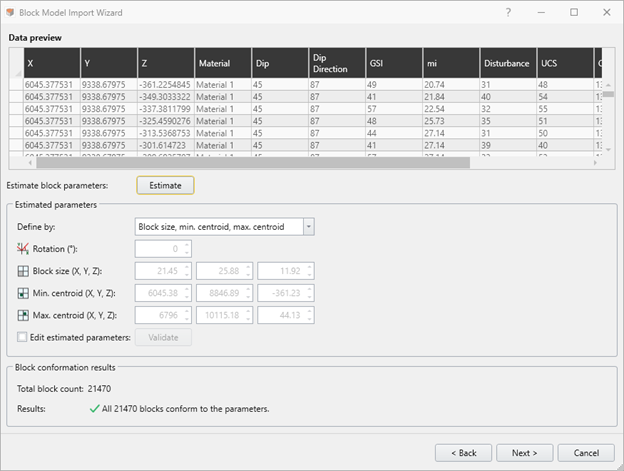
- The next section computes the block model grid geometry. The Estimate button commands RS3 to compute this process. The processed block grid information is displayed once the processing completes. Different geometrical details can be accessed using the options in the Define by dropdown menu. If the automatically generated block grid differs from the expected result, the parameters can be edited by selecting the Edit estimated parameters checkbox. This option does not overwrite the coordinate data from the database; rather, it provides an opportunity to interpret the geometrical information differently within the conditions discussed in Step 2. If the estimated parameters are edited, the redefined data must be validated by clicking the Validate button. The processed results will be summarized under the Block Conformation Results section.
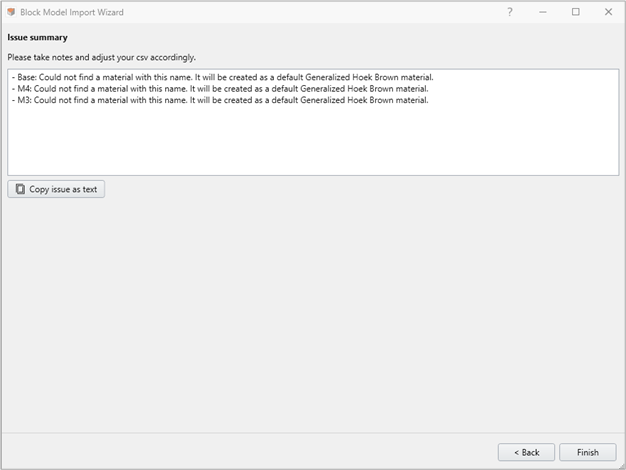
- The final step lists the materials added to the project. These materials are initially created with Generalized Hoek-Brown properties for their plastic behavior by default. If no additional materials are needed, the process will conclude with an “Imported Successfully” message.
Remove Block Model
The Remove Block Model option can be done by selecting Materials > Remove Block Model.
This option simply removes all block model data in the project.