Tunnel Toolbar
The Toolbar sits at the right side of the Tunnel Designer dialog. A set of tools is provided for you to draw and edit the tunnel profile, as well as to customize the display of your tunnel designs.
Among the nine sections in the toolbar, Tunnel, Draw, Edit, Snap, and Annotate are only available for 2D tunnel profile. Make sure you are at the Profile tab under the Tunnel Design tree to enable these options. The rest four – I/O, Visibility, Select, and Display, are available throughout the tunnel design. Each section is described below.
Tunnel
The Tunnel section is mainly about the tunnel outer, options include Tunnel Shapes, Replace Outer, and Near Outer Factor.
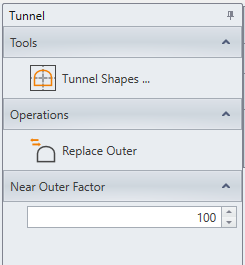
Tunnel Shapes
The Tunnel Shapes option allows you to choose and modify pre-defined tunnel shapes provided in RS3. This option can also be accessed through Tunnel > Tunnel Shapes from the main menu. See the Tunnel Shapes topic for more information.
Replace Outer
The Replace Outer option allows you to re-define your tunnel outer.
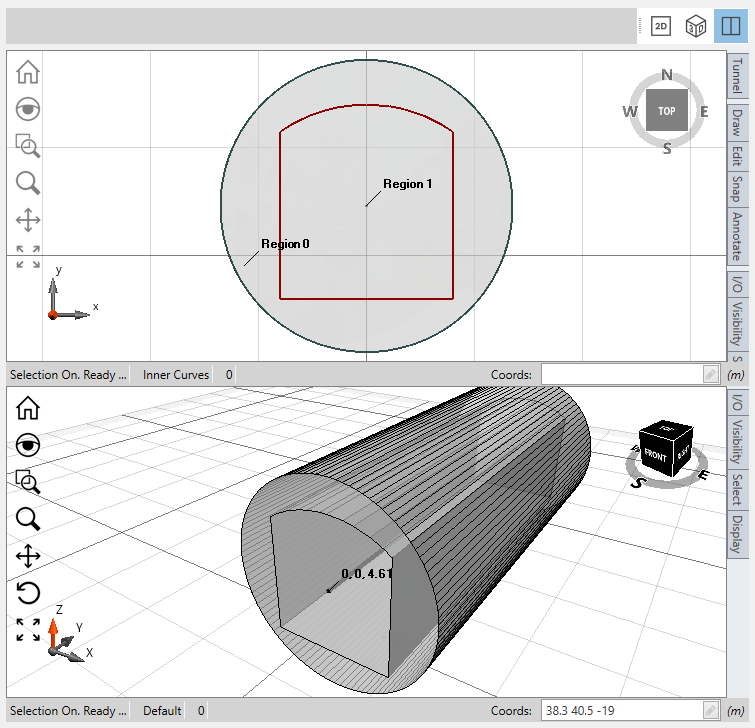
When drawing the tunnel profile, by default, RS3 defines one closed boundary as the tunnel outer, which will be highlighted in dark red (see the figure below). If you would like to re-define your tunnel outer, follow the steps below.
- Select Profile tab under the Tunnel Design.
- Select the Replace Outer option in Tunnel section from the toolbar.
- All geometries in your 2D view will be greyed out.Hover the mouse over 2D viewport, a tip note will display for instructions as shown below.
- Construct a new outer contour. Utilize the four methods provided to do so: Tunnel Shape, Draw tool, Data Table, or Import files. See the RS3 Tunnel Profile topic for more detail on creating a tunnel outer.
- When finished, the new shape will be defined as the tunnel outer, and highlighted in dark red.
If the old outer contour has supports or loads attached to, they will be automatically applied to the new outer contour with settings unchanged.
Near Outer Factor
The Near Outer Factor option assists with Import file option under I/O section.
The Near Outer Factor is a scale factor subjected to the existing geometry location. It provides a radius range of area based on the existing geometry. By default, the Near Outer Factor is set to 100. It means any object within 100 scale factor distance of the existing geometry is considered “near”, and acceptable.
When the imported geometry is outside of the range, it will be considered as “too far” from the existing geometry. A warning message will display, to suggest moving the imported geometry closer to the existing geometry.
To adjust the acceptable range, increase the Near Outer Factor to expand the range, or decrease to narrow the range.
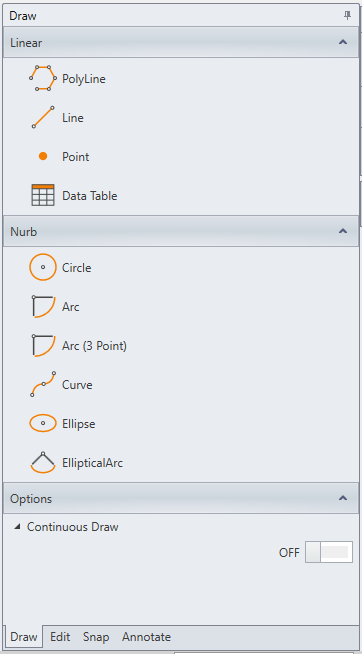
Draw
Various tools are available for you to draw the tunnel profile outline. Linear drawing tools include polyline, line, point, and data table. Nurb (curves) drawing tools include circle, arc, arc (3 point), curve, ellipse, and elliptical arc.
Data Table
Tunnel profile outline can be created with a Data Table. Input x and y coordinates in the spreadsheet cells starting from the top left cell (A1).
Data Collection
Select the RS tab at the top of the spreadsheet. By default, Active Worksheet is chosen. It means the data in the active worksheet will be inputted to RS3. Column A starting from top will be x coordinates, and column B starting from top will be y coordinates. Another option for data collection is Selection, where you can use the mouse to drag to select a group of data to be inputted.
You can also import x and y coordinate data files with the Open File option in the spreadsheet.
Continuous Draw
The Continuous Draw option allows you to alter among different drawing tools to finish a geometry.
When the option is ON, it will keep your drawing unfinished, and all drawing tools active, you can switch between tools to complete the geometry until finished (hit Enter or right click and hit done). This option is OFF by default, which assumes that you are finished with a draw option mentioned above after drawing one shape.
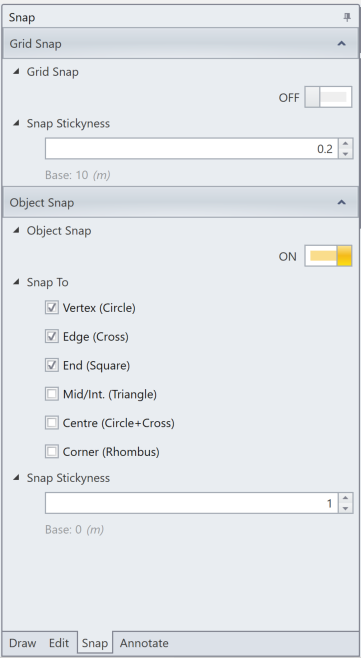
Edit
You can edit your tunnel profile with Edit tools. To transform a segment, select a segment in the 2D viewport, and use Move, Rotate, or Scale options to modify it. Other operations are available, including Offset, Trim, Extend, Mirror, and Join Curves. When a tool is selected, hover the mouse over the 2D viewport, and a blue tip note will appear by the side. Follow the instructions to use the tool.
- Move
- Rotate
- Scale
- Offset
- For straight lines, creates a new segment that is parallel and a distance away from the selected segment.
- For other shapes, creates a new segment that is scaled up or down from the selected segment.
- Trim
- To split an entity into two parts subjected to a specific location (trimming boundary)
- After trim, you can delete the unwanted part
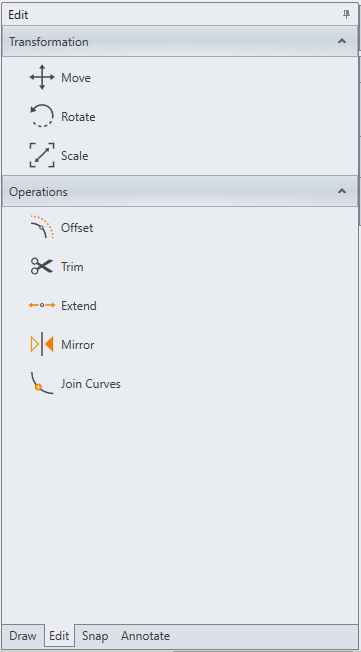
- Extend
- Extend one end of an entity to another boundary.
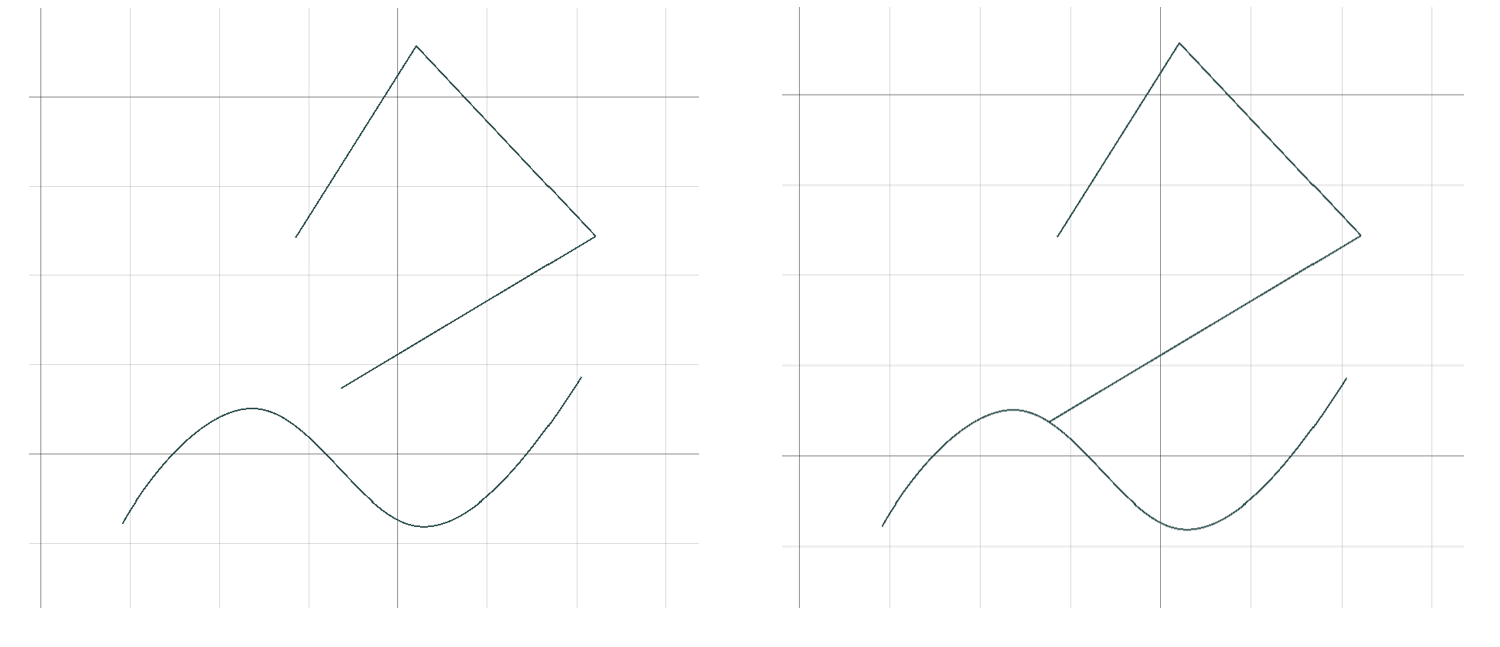
Extend tool example before (left) and after (right)
- Extend one end of an entity to another boundary.
- Mirror
- Creates a mirrored entity
- Join Curves
- To join two connected entities as one entity.
Right-Click Edit
Select a segment and right-click on the segment to open the context menu which enables the following editing options:
- Edit option to manually change the coordinate points of the segment
- Copy option to create a copy of the segment and move it to the desired position
- Delete to completely remove the entity
- Undo to recover the previous action
- Redo to recover the previous undo action
Snap
Snap options for grid and object can be turned on/off and customized here.
Annotate
The Annotate section allows you to measure and label various dimensions, including distance and angles.
- Linear
- Find the horizontal or vertical distance between two points.
- After selecting two points, if the cursor moves in horizontal direction, the vertical distance would be shown, and vice versa.
- Aligned
- After selection of the second point, the distance between two points will be provided.
- Radial
- For circular shapes or arcs, the radius of the selected entity will be displayed.
- Diametric
- For circular shapes or arcs, the diameter of the selected entity will be displayed.
- Angular
- Gives an angle between two lines
- Ordinate H
- Gives the x coordinate of a point
- Ordinate V
- Gives the y coordinate of a point.
I/O
The tunnel profile can be imported or exported. Printing settings are also available in the I/O section.
- Import
- You can import any tunnel profile (2D) that is saved with the *.dxf or *.dwg extension
- Export
- The drawings made in the tool can be exported as *dwg, *.dxf or *.pdf files.
- Print Preview
- Print
- You can Print the drawing. Use Page Setup tool to adjust printing parameters, and preview with Print Preview tool.
- Page Setup
- Copy Image to Clipboard
- You can copy the current tunnel drawing as an image to the clipboard.
- Save As Image
- You can export the current tunnel drawing as an image, with the *.emf extension.
- Website
- Visit our website for more information about RS3.
- About
- See the documentation about the RS3 Tunnel Designer tool.

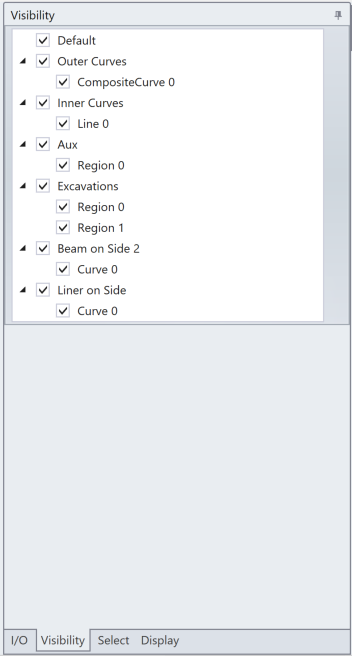
Visibility
Using the Visibility section, you can hide and unhide selected entities and dimensions of the tunnel profile. The drawings in the 2D view have been categorized based on types.
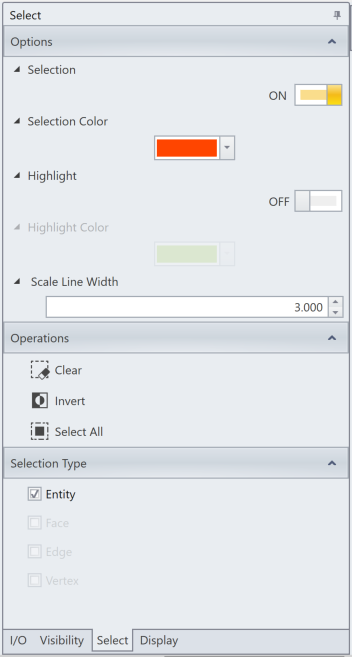
Select
Entity selection and highlight can be turned on/off. Their colors and the Scale Line Width can be customized. You can use mouse to click, or click and drag entities to select.
- Clear – clear the current selection
- Invert – the entities selected will be unselected, and the entities not selected will be selected.
- Select All
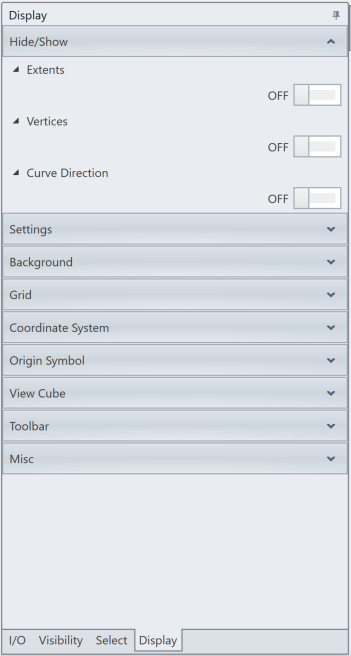
Display
Hide/Show
- Extents – displays a rectangular (2D) or a cuboid (3D) box as the extended border box.
- Vertices – displays the vertices in the drawing
- Curve Direction – displays the drawing directions od the drawn segments
Settings
- Lighting – the lighting theme for the background, coordinate system frame
 , and view cube
  can be changed.
 - Display Mode – Wireframe, Shaded, Rendered (default), Flat, Hidden Lines
Background
The background color style can be customized.
The background color style can be customized as no color (None), one color (Solid), or gradient colors transits from top to bottom (Linear Gradient).
Grid
The grid size and format can be customized.
Coordinate System
The coordinate system visibility, position, color, and label can be customized.
Origin Symbol
You can display the origin of the tunnel profile with customized styles.
View Cube
The view cube locates on the top right of viewports. You can customize its style.
Toolbar
The tunnel model can be zoomed / panned in the viewports in various ways. You can utilize the viewing and display options listed at the left side of the viewports. You can hide / show and adjust positions of these tools in the section. See the Viewports topic for detail on each option.
Misc
The text font in the viewport and toolbar can be customized.