Slide 2 and RSLog
Import from RSLog allows users to import cross sections from their RSLog project to Slide2. The purpose of this feature is to facilitate transferring your cross section designs from RSLog to Slide2. The cross sections will be imported to Slide2 as soil profiles by default, but may also be imported directly as geometry if needed.
This feature will import the geometry, material name, and material colour of each material region, as well as any piezometric lines. All material properties must be defined and all piezometric lines must be assigned the user in Slide2.
In order to use this feature:
- Select File > Import > RSLog Cross Section, or select the RSLog Import
 button in the toolbar.
You will be taken to a dialog as shown:
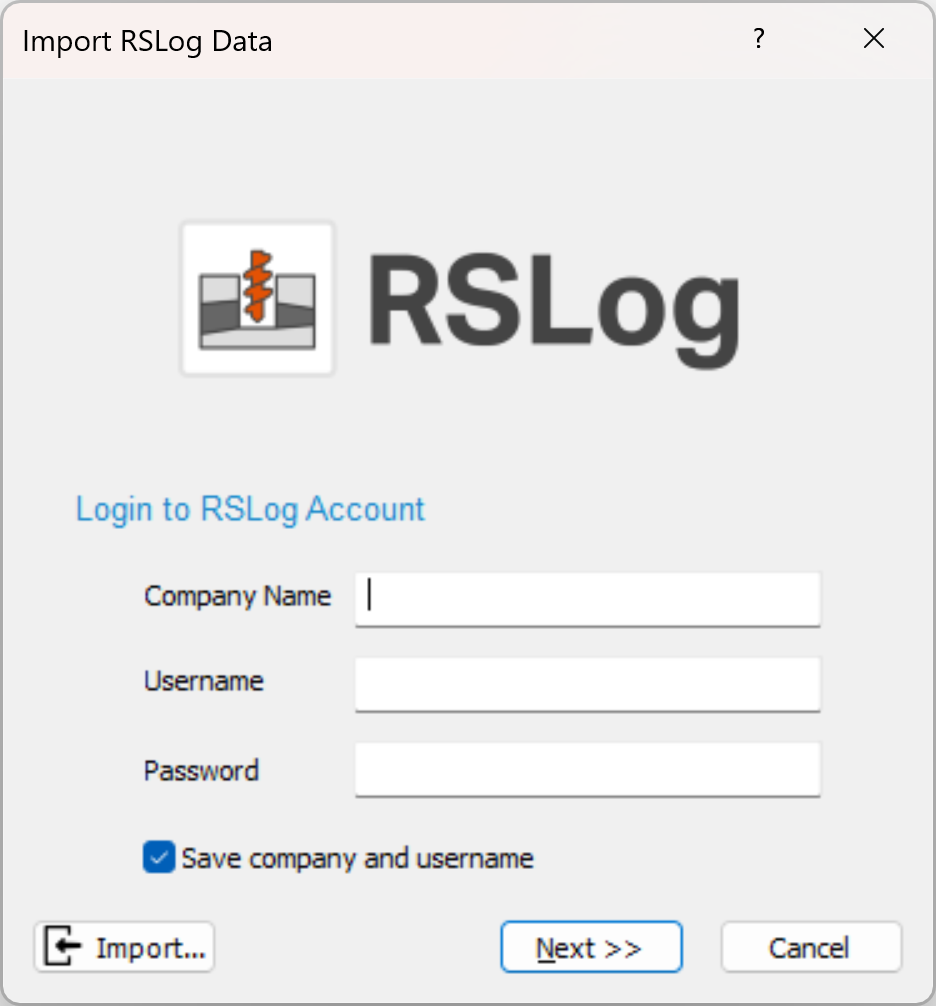
You can import the section in one of two ways: online or offline. These are detailed below.
Online Import Method
If you have an internet connection while creating the model, you can directly login to your RSLog account to retrieve the cross section.
The following information is required to login:
- Company Name
- Username
- Password
Please note, Company Name and Username are emailed to your company administrator at the time of initial registration. You can select Save company and username for ease of access in importing cross sections in the future.
After clicking Next you'll be taken to the list of projects associated with your account:
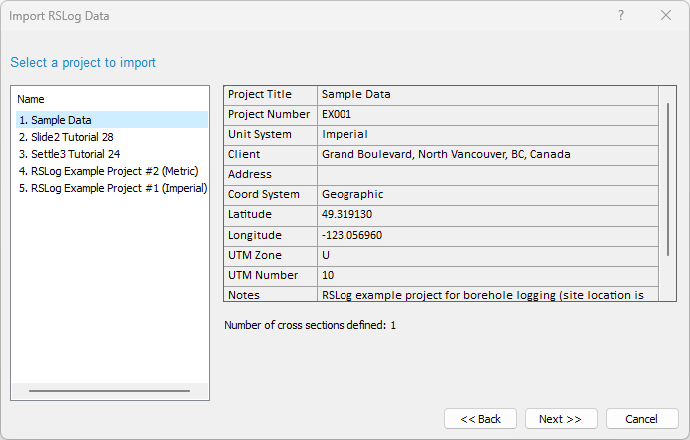
The detailed information for each project will be shown on the right panel, making it easier to identify the projects. The Next button is enabled if at least one cross section is defined in RSLog.
During the import process, if there are any problems with the cross section, Slide2 will display a warning message with details. More information on how to resolve warnings is found at the bottom of this page.
After clicking Next, you'll be able to see a preview image of your cross section along with the list of boreholes that it uses:
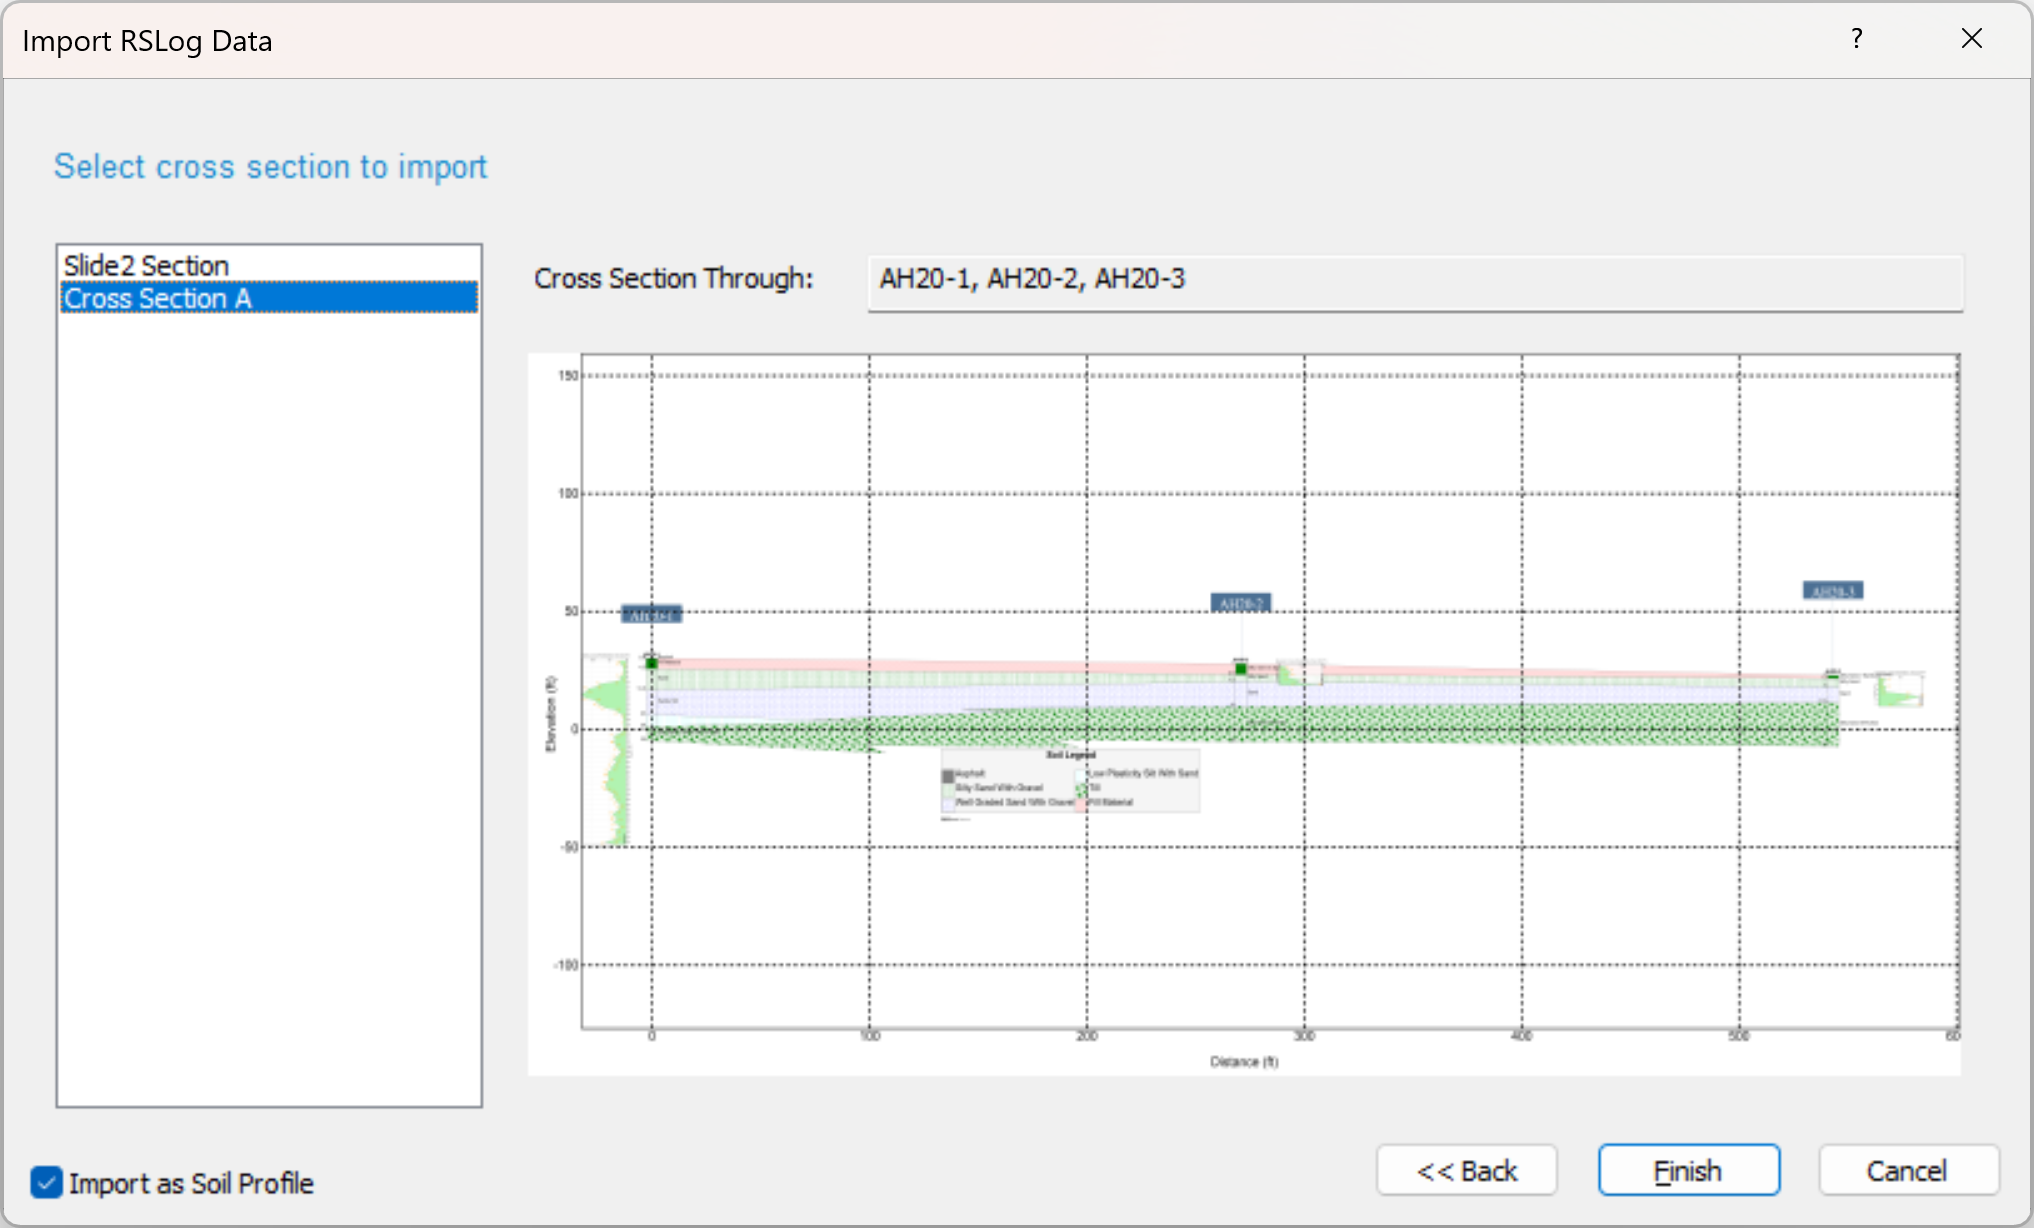
By default the "Import as Soil Profile" checkbox is on. When this is on, your cross section will be automatically imported in soil profile mode. You will then be able to cut your desired slope out of the cross section.
Should you want to import your cross section directly as the final slope, ready for analysis, uncheck this box in the wizard.
Offline Import Method
If you won’t have internet access while making your Slide2 model, you can export the RSLog section ahead of time as follows:
- In RSLog open the cross section.
- Click on the Export button at the top and select “Rocscience Section (JSON)”. This downloads a Rocscience Section file.
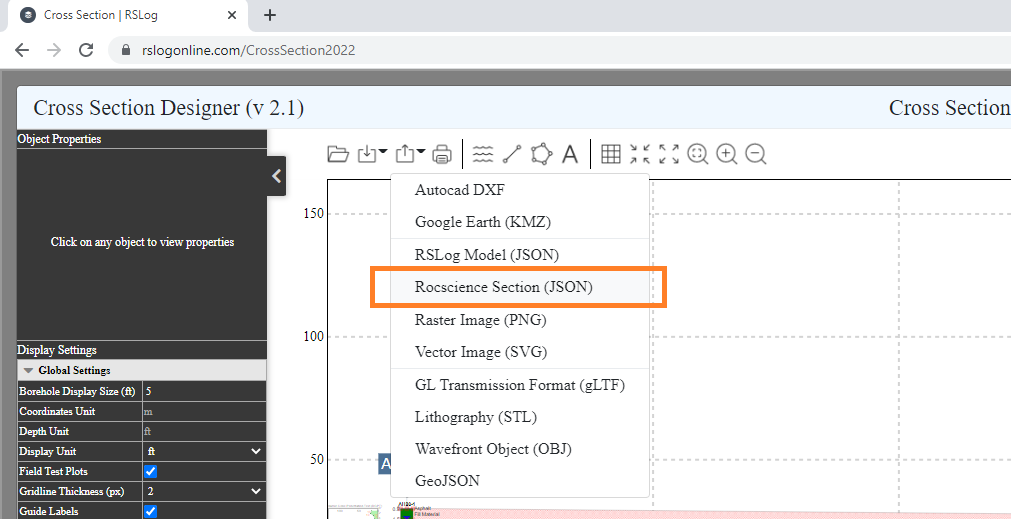
To import this file in Slide2:
- In Slide2 select File > Import > RSLog Cross Section

- This time click the Import button in the dialog:
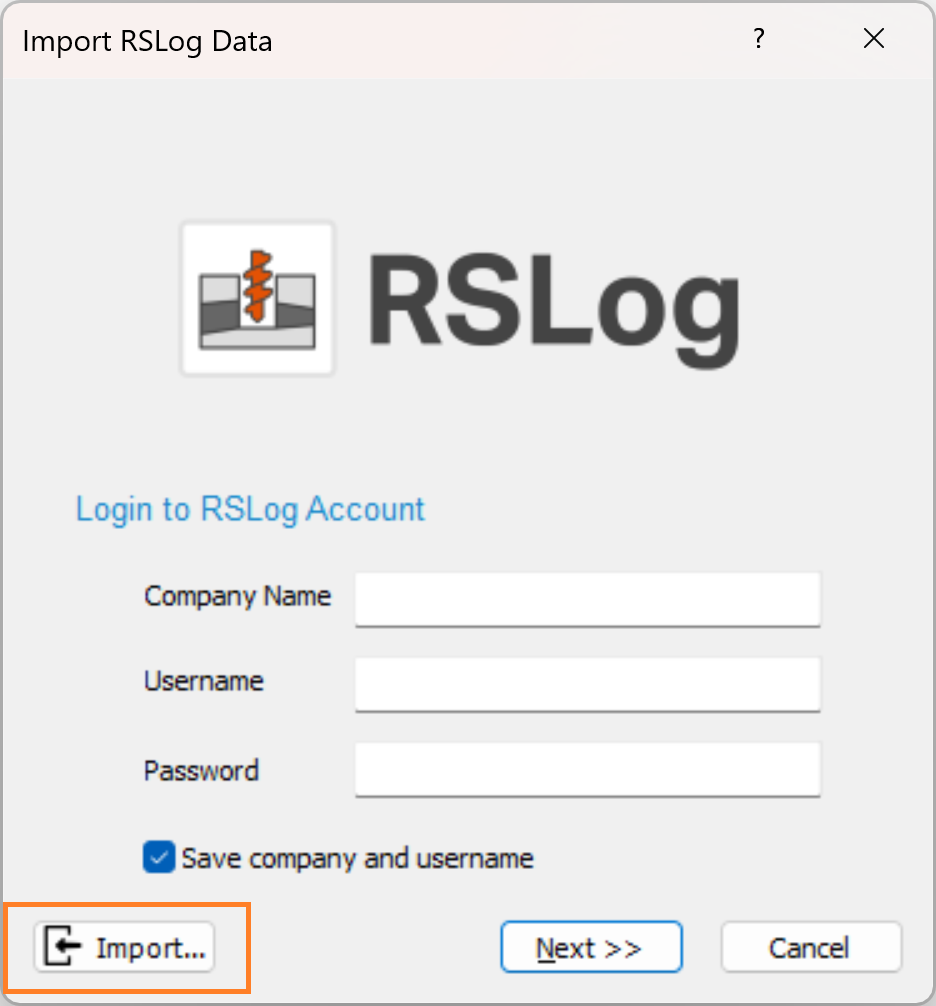
- Select the file you downloaded in step 2 above and click Open.
- This will always import the file in soil profile mode.
- Any material polygon assigned to Fill Style = Void in RSLog, will not be imported into Slide2.
- Since it is not possible to define piezometric lines in Soil Profile mode, if an RSLog model with piezometric lines is imported as a soil profile, the piezometric lines will be visible only in the Geometry flowtab.
Information about Warning Messages
- It's possible your RSLog cross section will have gaps. If the geometry you import to Slide2 has gaps, Slide2 will walk you through fixing all gaps before creating the external boundary. Note that if you try to import a bad geometry with the "import as soil profile" box unchecked, Slide2 will ask you to import as soil profile so that you can fix all the gaps before proceeding.
Below are a list of other common error messages:
Error Message | Details |
| "The unit system of this cross section is different from the unit system of this Slide2 project. Would you like to change the Slide2 unit system and proceed with the import?" | This indicates that the Display Units of the cross section in RSLog are different from the unit system in Slide2. By clicking OK, the Slide2 unit system will be set to the cross section's display unit. All material and support properties will be reset per the usual behaviour upon unit change. |
| "This cross section cannot be imported because it is not a valid Rocscience Section file." | This error message can be cause by one of two things:
|
| "This cross section cannot be imported because it was created in an older version of RSLog. Please resave the section in RSLog and try again." | See the steps at the bottom of the page for instructions on how to resave the cross section. |
| "This cross section cannot be imported because it is empty." | You created the cross section in RSLog but you didn't define any material regions. Open the cross section in RSLog and define polygons as explained in the Slide2-RSLog tutorial. |
| "No cross sections have been defined in this project." | In your RSLog project, navigate to Data Entry > Cross Section. If no cross sections exist, please define one following the steps in the Slide2-RSLog tutorial. |
Resave RSLog Cross Section File
The most common error will be due to your cross section having been saved in an older version of RSLog which didn't support the Slide2 integration. In this case, please do the following:
- Click Cancel in the Import RSLog Data dialog.
- Login to your RSLog account and open the cross section.
- Click Save in the cross section.
- Return to Slide2 and try to import the cross section again.