17 - Multiple Load Cases
1.0 Introduction
This tutorial provides an overview of the Multiple Load Case feature in RSPile. This features allows users to automate the analysis of multiple load cases by importing an Excel spreadsheet consisting of pile and loading information.
Finished Product:
The finished product of this tutorial can be found in the Tutorial 17 – Multiple Load Cases folder. The Multiple load case spreadsheet folder is also in this folder, which contains the template file: Multiple Load Cases Template Spreadsheet.xlsx. All tutorial files installed with RSPile can be accessed by selecting File > Recent Folders > Tutorials Folder from the RSPile main menu.
2.0 Project Settings
To enable the feature:
- Select Home > Project Settings

- In the General tab, set the Program Mode Selection to Pile Analysis.
- In the Pile Analysis Type tab, select Individual Pile Analysis.
- Set Individual Pile Analysis type to Axially / Laterally Loaded.
- Check the Multiple Load Cases checkbox.

- Click OK to close the dialog.
3.0 Pile Types
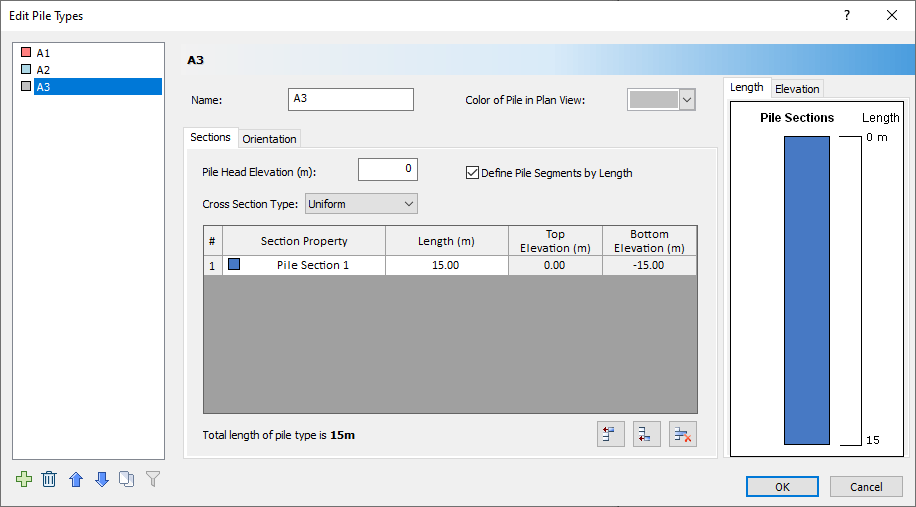
To import load cases into RSPile, ensure that the Pile Types in the RSPile project match what is found in the spreadsheet.
- Select Piles > Pile Types

- Change the default pile type names to match what is written in the sample spreadsheet.
- In the sample spreadsheet, the pile type names are “A1”, “A2”, and “A3”
- Click OK.
4.0 Multiple Load Cases
The program is now ready to import multiple load cases.
- Select File > Save
 and save your RSPile project in an empty folder.
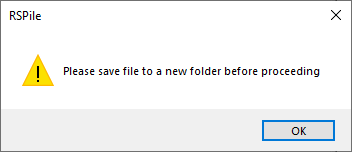
The RSPile project file must be saved in an empty folder before importing multiple load cases. If the file is currently in a folder that contains other RSPile files (*.rspile2), or your project is not yet saved, a warning message will appear.
- Once your file is saved, select Piles > Multiple Load Cases
 . The Multiple Load Cases dialog will appear.
 - Click Browse… and select the Excel spreadsheet containing the load cases and pile information: Multiple Load Cases Template Spreadsheet.xlsx. The template spreadsheet is provided in the multiple load cases spreadsheet folder, found in the Tutorial 17 folder (C:\Users\Public\Documents\Rocscience\RSPile Examples\Tutorials\Tutorial 17 - Multiple load cases\multiple load cases spreadsheet).

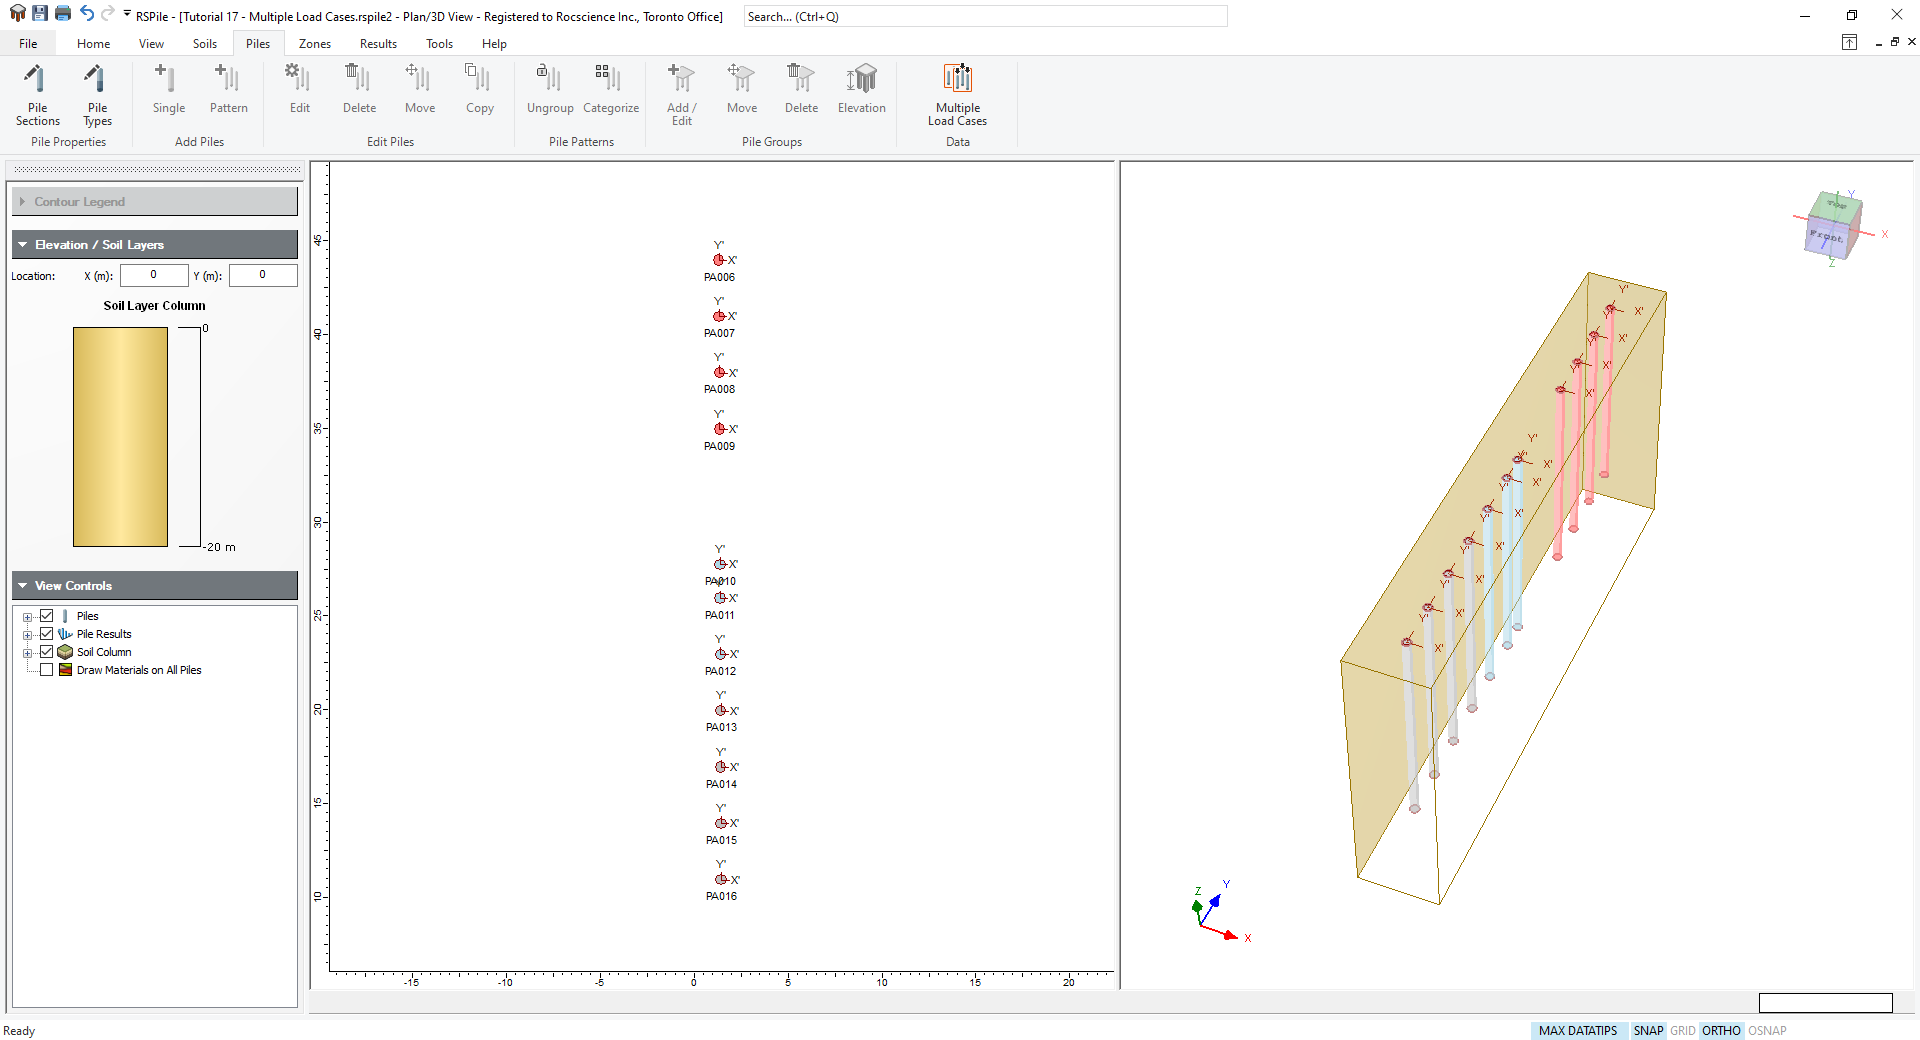
- Click Create to close the dialog and create the models for each imported load case.
5.0 Results
The template file will be used to perform a batch compute of all the newly created load case files.
- Select Results > Compute

- After a successful compute, an Excel spreadsheet with the results of each individual load case and all load cases combined will automatically open. (You can also open this file by selecting Results > Multiple Load Cases
 )
)
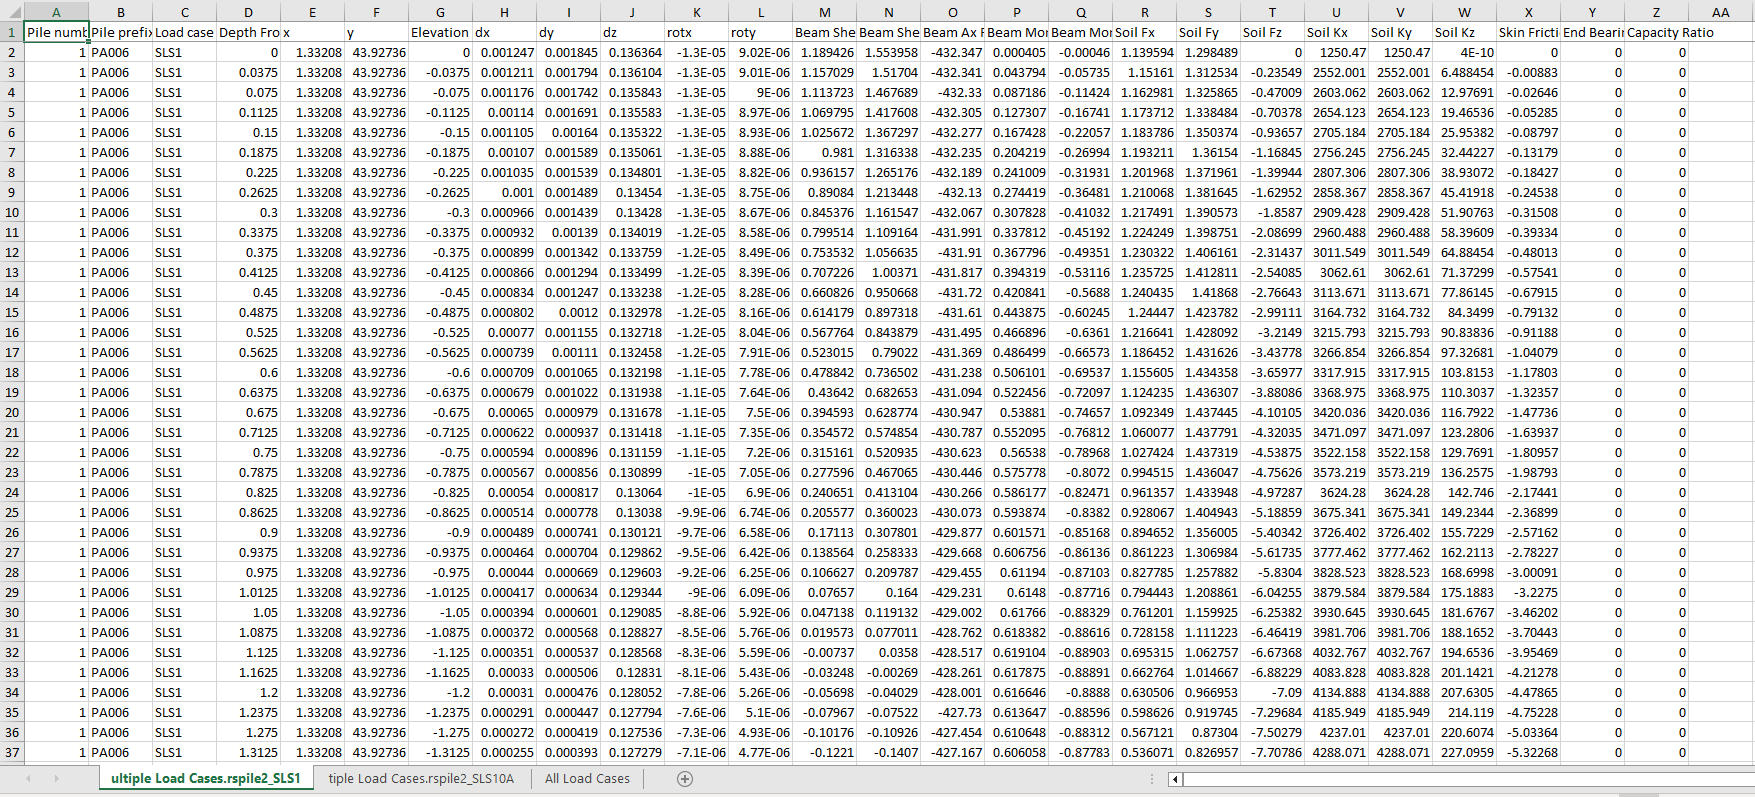
The files generated for each load case and the results spreadsheet will be found in the same folder which the RSPile project file was saved in.
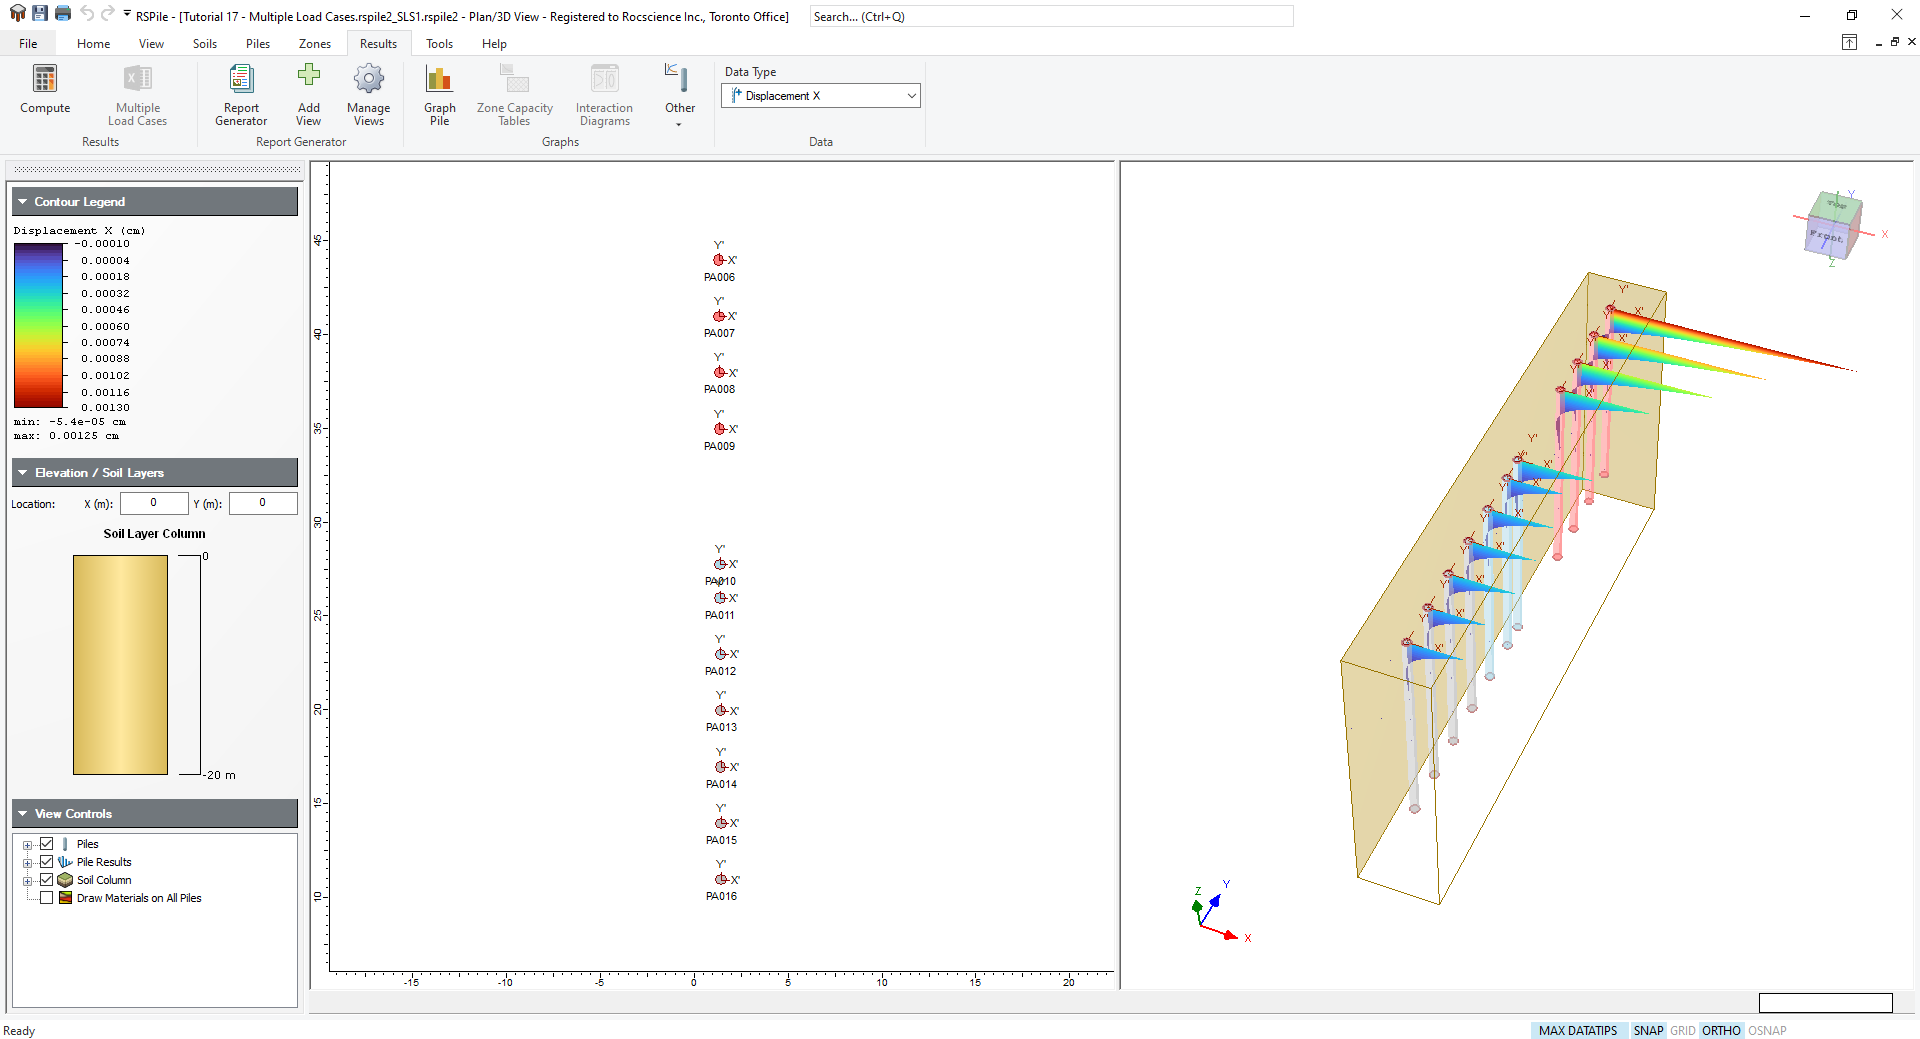
Note that the ‘base’ model file we created is the template file for multiple load case, but the ‘sub’ files are generated from the ‘base’ model with the soil properties, boreholes, groundwater, pile section and pile types. In ‘base’ file, the user will not see any results in the RSPile program, but in ‘sub’ files, the user will be able to see the results for its corresponding load case. This makes it much easier for users to check each individual pile analysis for specific load cases.
6.0 Additional exercise
- Try to edit the spreadsheet by adding more load cases.
- Try to add different soil layers with the borehole, and re-import to see the different results.
