19 - Getting Started with RSPile Python Scripting
In this tutorial, we will walk you through the setup process and provide an overview of how to run your first Python script for RSPile.
Prerequisites
Before you begin, ensure you have the RSPile program installed. You must have at minimum Version 3.031 in order to use this feature.
Python Environment
There are two methods to run a script, which differ in the Python environment used:
- Running on RocScript Editor
- Comes pre-installed with RSPile and includes the RSPile Python API library
- For all-level users
- Running on your own Python environment
- Requires downloading the RSPile Python API library
- For advanced users
Each method is detailed below.
Method 1: Using RocScript
1.1 Opening the editor
- In RSPile, select Scripting > Scripting Options > Launch RocScript Editor
 from the menu. The RocScript Editor will open
For more information about the RocScript Editor, see the Scripting Overview help topic.
1.2 Open a File
To open a file from the RocScript Editor:
- Select File > Open File from the menu.
- Select the helloScripting.py python file from the tutorial folder directory: C:\Users\Public\Documents\Rocscience\RSPile\Examples\Tutorials\Tutorial 19 - Getting Started with RSPile Scripting
1.3 (Optional): Install Libraries
- In the RSPile program, select Scripting > Scripting Options > Manage Python Environment
 from the menu.
 - The RocScript WinPython Command Prompt will open:
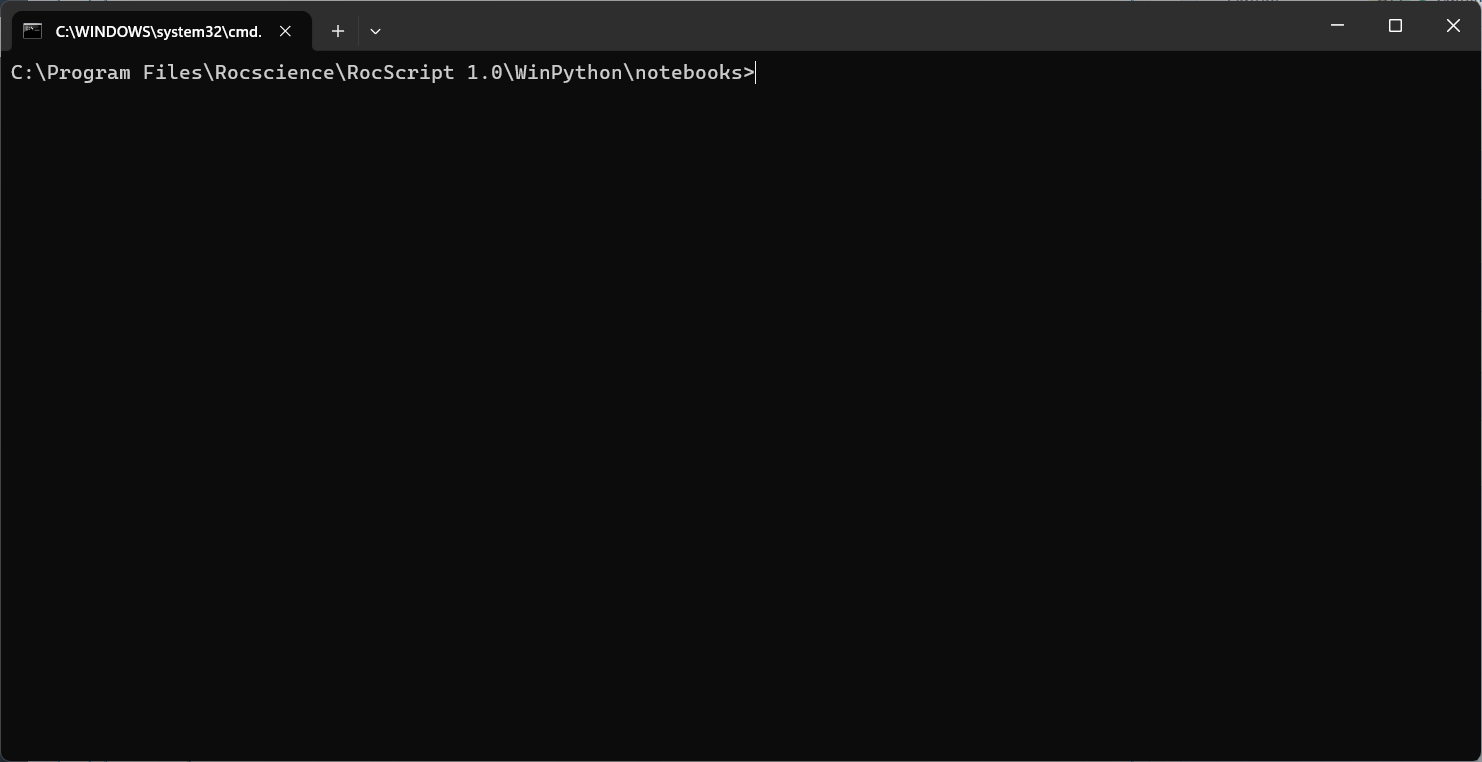
- Check the installed libraries with the command:
pip list
Pre-installed libraries include the RSPile Python API Library (i.e., RSPile Scripting on the list) and two common python libraries: Pandas and Matplotlib.
- If you wish to install more libraries, use the below command to do so:
pip install [library name]1.4 Run the File
To run the file:
- Click on the play button at the top right of the window:
The helloScripting.py script demonstrates a simple application of RSPile Scripting. Using functions from the RSPile Python API, it launches the RSPile Modeler and a scripting server at port 60044. The script then opens the Getting Started (Initial).rspile2 model file, modifies the first soil material’s axial properties to an elastic type with specified stiffness values, and adjusts the first pile section’s cross section to a rectangular shape with dimensions of 1m x 1.5m. After computing the model, the modified file is saved as Getting Started (Final).rspile2 in the output directory.
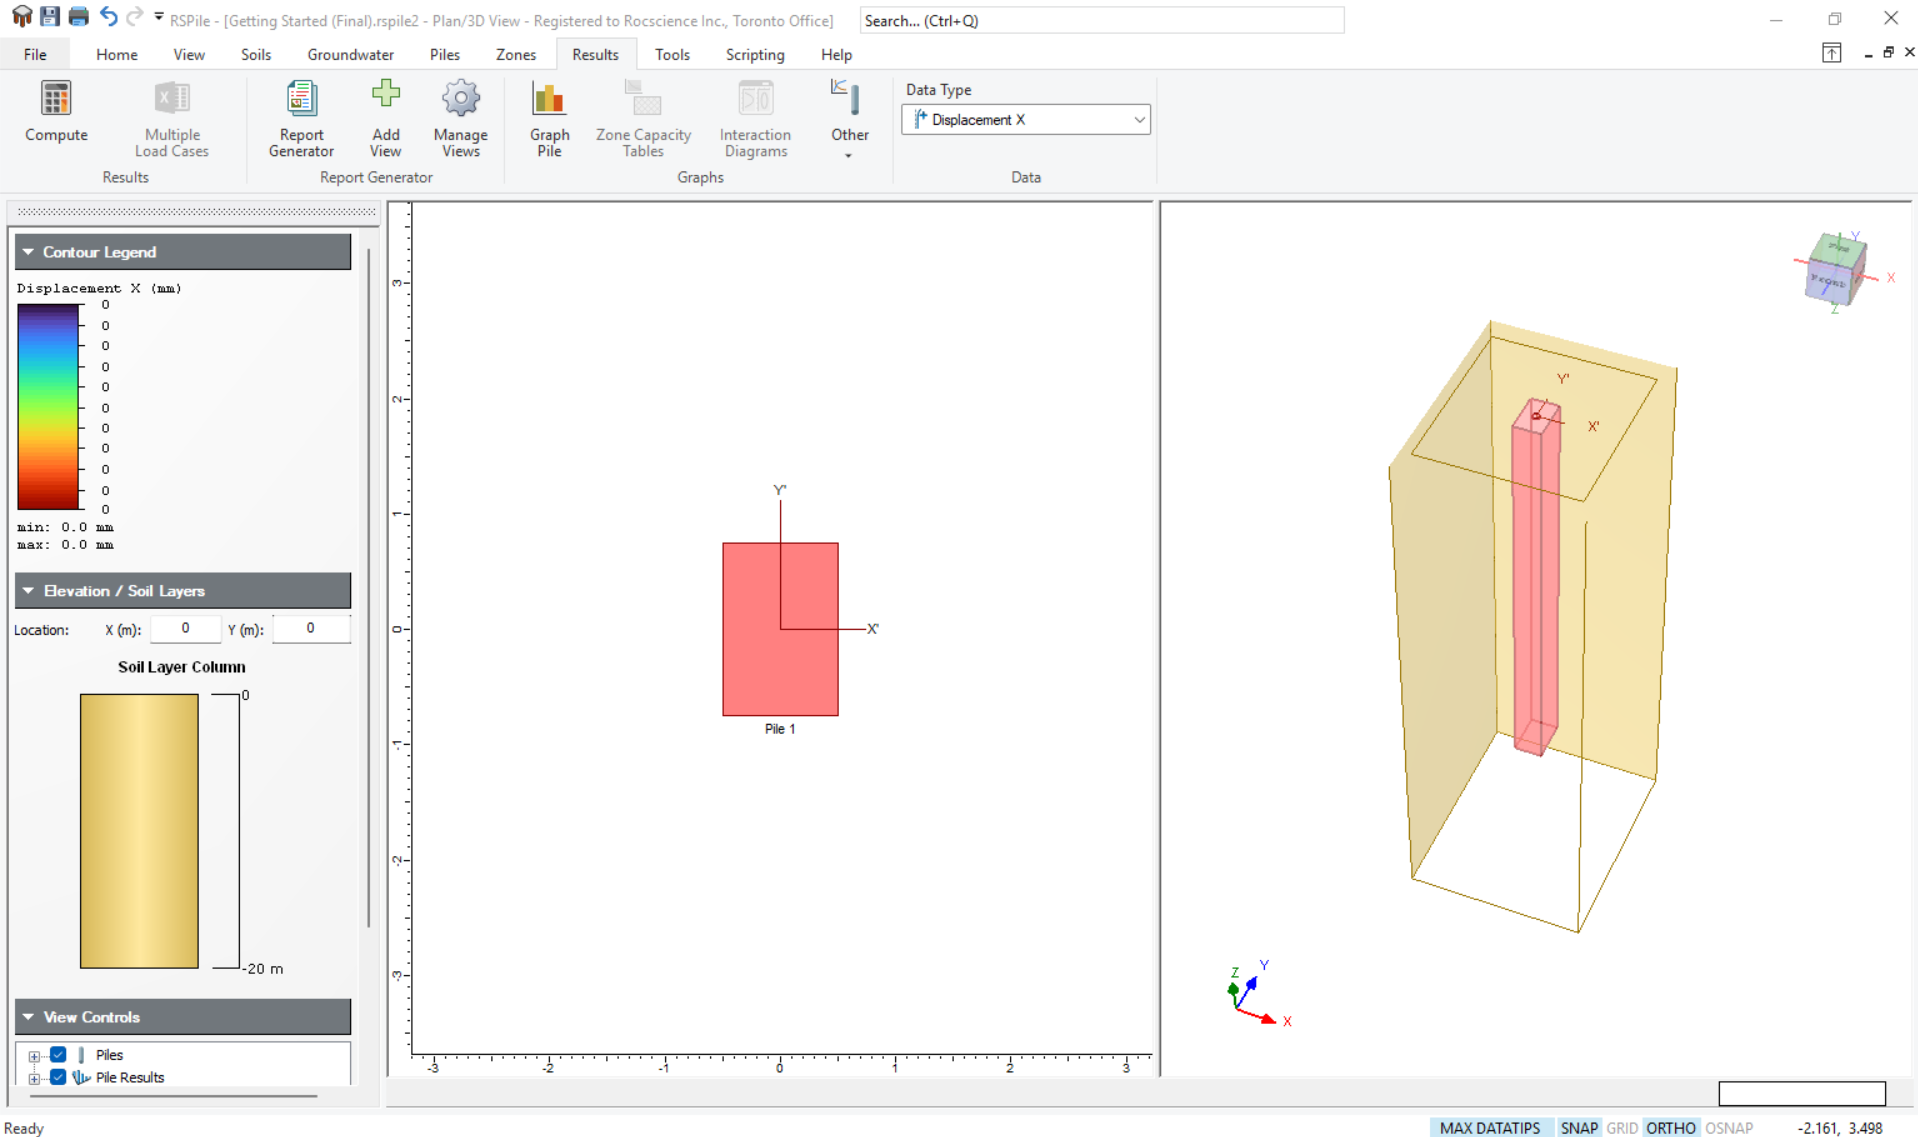
Files are located in the script’s directory under the results folder.
Method 2: Using your Own Environment
The python environment is made up of two parts which need to be installed:
- The Python interpreter (Section 2.1 below)
- The Code Editor (Section 2.2 below)
2.1 Install Python
- Navigate to the 3.11.4 release page, scroll down and select Windows installer (64-bit).
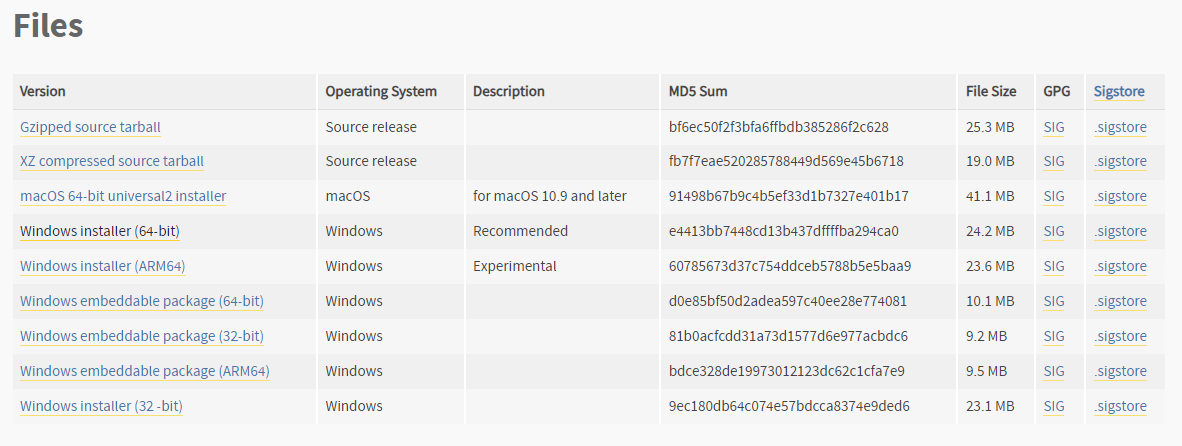
- Run the installer. Keep the defaults and select Install Now. Installation should complete successfully.
Note that any version of python above 3.7 should work, but 3.11.4 was the most thoroughly tested.
2.2 Install a Python Code Editor
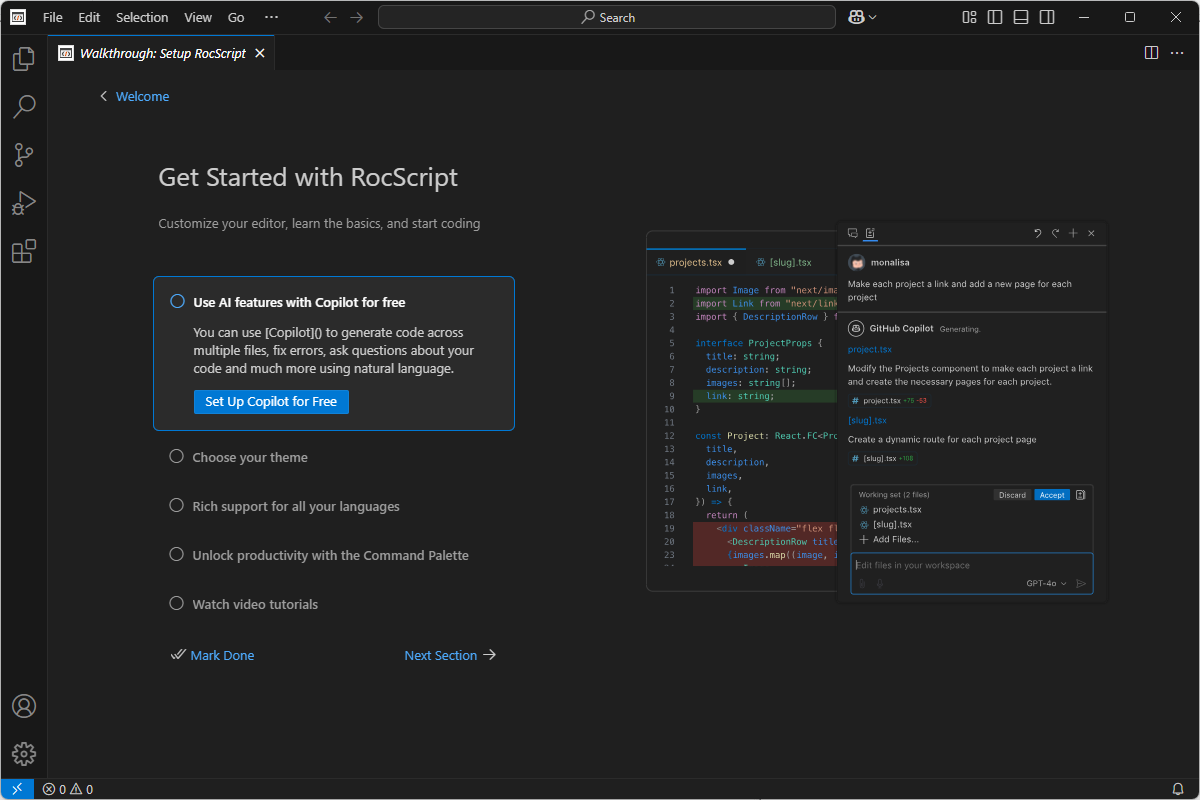
Any code editor can be used, but we recommend you use Visual Studio Code.
To download and install Visual Studio Code:
- Navigate to the Download page (https://code.visualstudio.com/download) and select the Windows option:
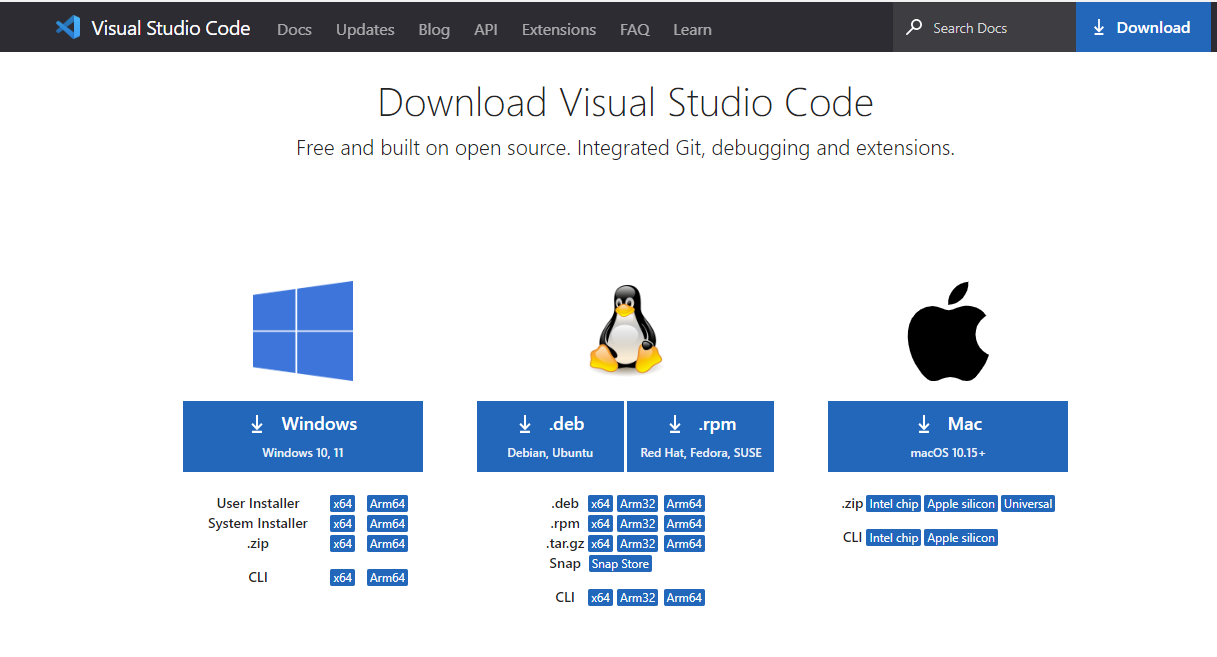
- Run the installer and complete the installation.
2.3 Configure Editor for Python
Visual Studio Code (VSCode) has extensions which can be installed.
- Navigate to the Extensions pane and search for python.
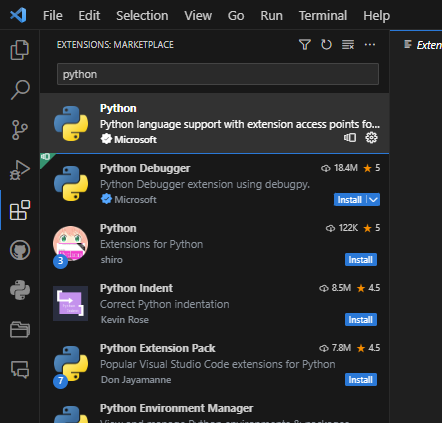
- Install the python extension.
- Restart VSCode.
2.4 Install the RSPile Library
- In VSCode, select View > Terminal in the menu to open a terminal.
- Install the library using pip, which is a package manager that comes with python:
pip install RSPileScripting If you are not using the latest release of RSPile, you need to specify a library version that matches your RSPile version. For example:
pip install "RSPileScripting==3.031"To find a list of available versions, see Release History.
You can find your version of RSPile by selecting Help > About in the RSPile program.
The RSPile Python API Library is now installed.
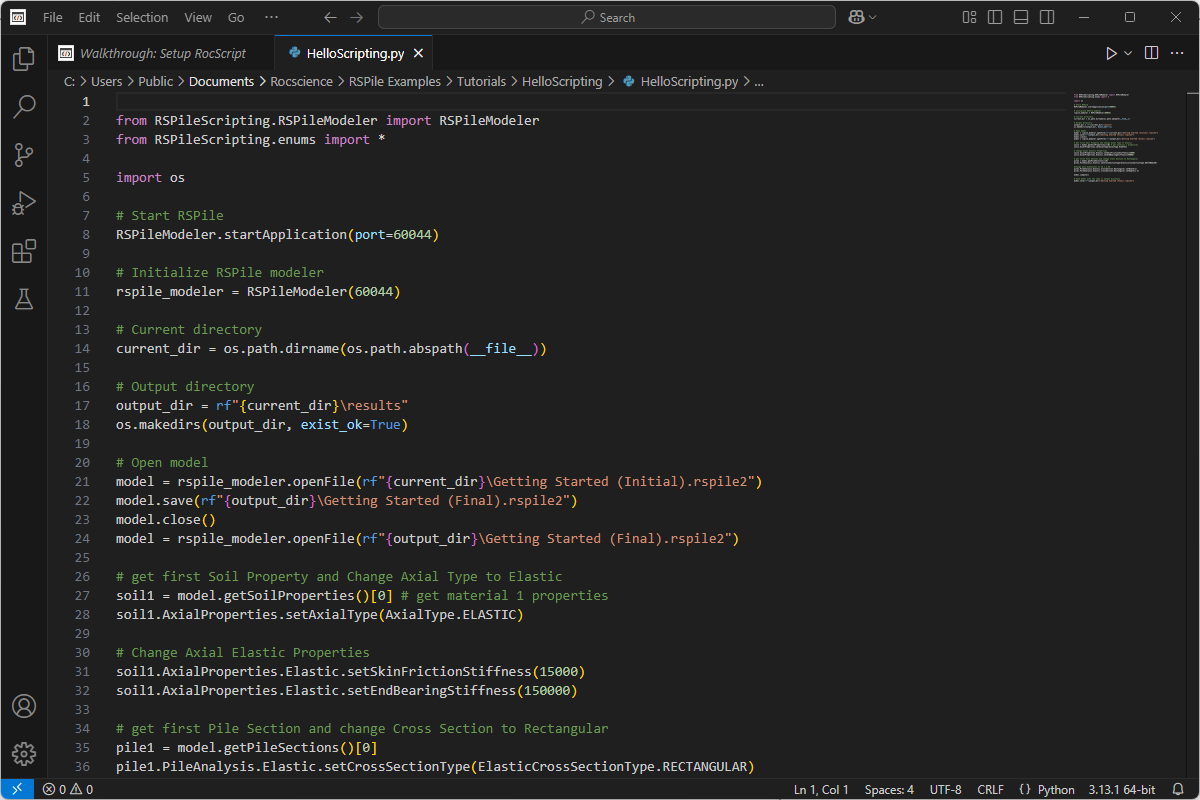
2.5 Open a File
- In VSCode, select File > Open File in the menu:
- Select the helloScripting.py python file from the tutorial folder directory: C:\Users\Public\Documents\Rocscience\RSPile Examples\Tutorials\Tutorial 19 - Getting Started with RSPile Scripting
2.6 Run the file
To run the file:
- Click on the play button at the top right of the window:
The helloScripting.py script showcases a simple application of RSPile Scripting. Utilizing functions from the RSPile Python API library, it initiates the RSPile Modeller and a server at port 60044. The script then opens the Getting Started (Initial).rspile2 RSPile model file, modifies the first soil material’s axial properties to an elastic type with specified stiffness values, and adjusts the first pile section’s cross-section to a rectangular shape with dimensions of 1m x 1.5m. After computing the model, the modified file is saved as Getting Started (Final).rspile2 in the output directory.
Files are located in the script’s directory under the results folder.
You’ve successfully set up your Python environment to use RSPile Scripting. You can build your own python scripts for RSPile now.
Resources
For more information on RSPile Scripting, check out the following resources: