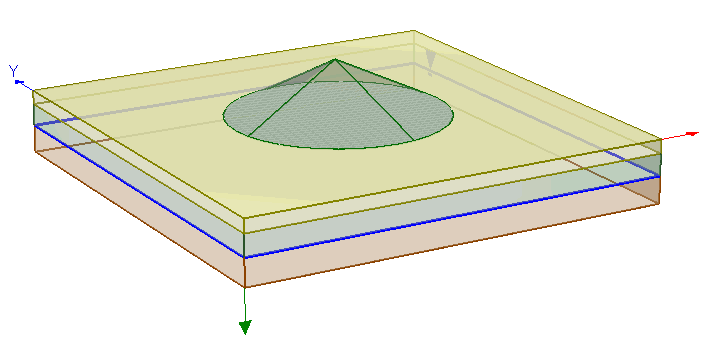
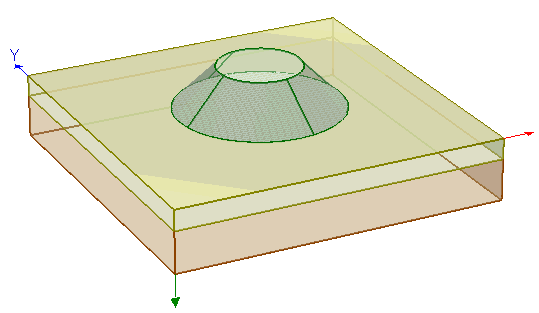
Add Conical Load
A conical load can be defined with the Add Conical Load option.
To add a conical load:
- Select Loads > Conical Load

- You will see the Define Conical Load dialog. Enter the following information:
- Cone Geometry (height, base radius or side angle, truncation)
- Load Properties (unit weight, depth/bottom elevation, installation stage)
- Advanced Staging
- You will now be prompted to define the location of the conical load in the Plan View. The location is defined by entering the x,y coordinates of the center of the cone base. This can be entered graphically with the mouse, by clicking at the desired location in the Plan View. Or you can use the keyboard to type in the x,y coordinates in the prompt line.
- As soon as the load location has been entered, the load will be added to the model, and displayed in both the Plan View and 3D View.
See below for details about the input parameters. When you are finished entering the load information, select OK.

The parameters which define a conical load are described below.
Cone Geometry
Height
The height of the cone measured vertically from base to apex.
Base Radius or Side Angle
The spread of the cone can be defined by entering either the Base Radius or the Side Angle. Note that the Side Angle is measured from the horizontal.
Truncate
You can truncate the cone at any height by selecting the Truncate checkbox and entering a truncation height, measured from the base of the cone. This will create a flat-topped cone.

Load Properties
Unit Weight
The unit weight of the material making up the conical load.
Depth
A conical load can be applied on the ground surface or at some depth below the ground surface. To apply a load on the ground surface, enter Depth = 0. To apply a load at some depth below the ground surface, enter the Depth from ground surface as a positive number.
Load Staging
If your model uses multiple stages, the load can be applied at any stage, or modified at different stages using the Advanced Staging option.
- Select the Advanced Staging checkbox. The dialog will expand, allowing you to enter a value of each load parameter at each stage.
- For example, you could progressively increase the cone height and/or base radius at different stages to increase the size of the conical load.
Installation Stage
If you wish to apply a load at a particular stage of a multi-stage model, then use the Installation Stage option to select the desired Installation Stage.
Advanced Staging
For more complex load staging, the Advanced Staging option allows you to stage the individual parameters of the conical load. To use the Advanced Staging option:
For a conical load, the staging values which you enter are the actual parameter values (not differential values or multiplication factors).
If your load is staged, it is a good idea to select the Stage Tabs after adding the load, to check that the load is applied at the correct stage(s), and that the load parameters are correct. If not, then use the Edit Load Properties option, and make sure that the correct values have been applied at the correct stages.