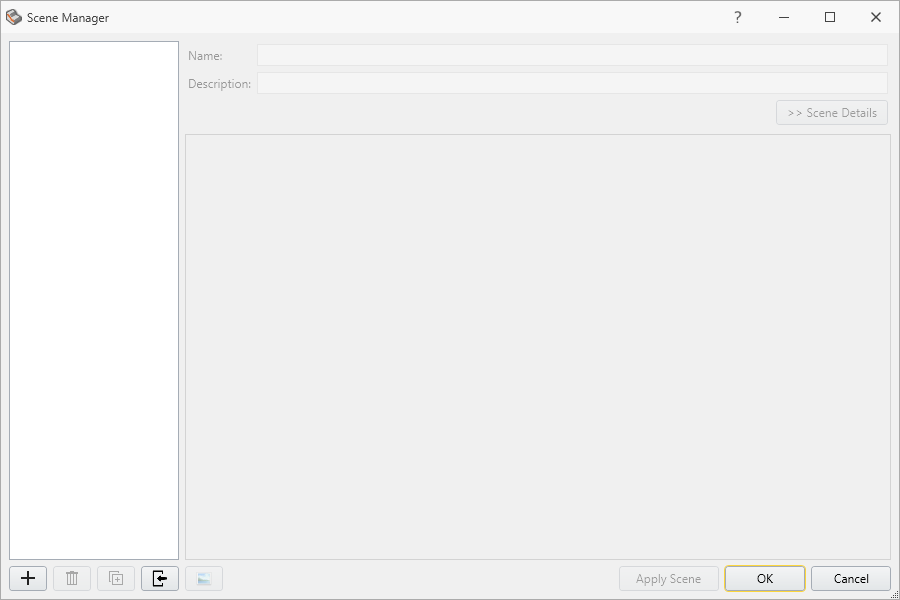
Scene Manager
The Scene Manager option in Slide3 allows users to create and then select “scenes”, which are view states that define visibility of entities, display settings, contour settings, zoom and camera settings, and the selected tab. To open the scene manager:
- Select View > Scenes > Scene Manager…
OR - Open the drop down in the bottom right corner of the program and select the Open Scene Manager icon


Add Scene
Adding a scene can be done in one of three ways:
- From the Scene Manager dialog.
- By selecting View > Scenes > Quick Add Scene…
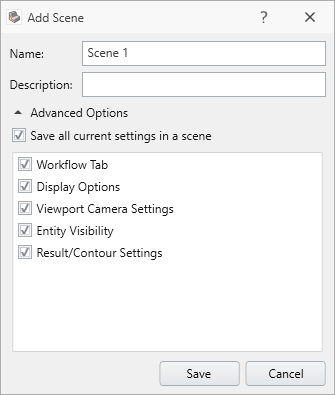
- From the quick menu in the bottom right corner of the main screen. Click the drop down and select New Scene. A new dialog will appear to input the settings of the new scene:

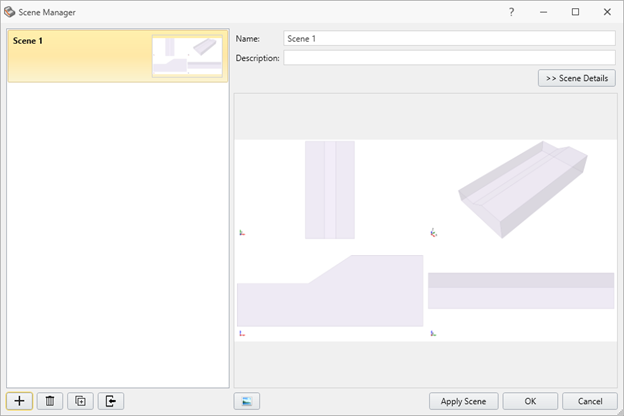
It will take the currently applied settings for each selected option and save it to the newly created scene. After adding a scene, it will be visible in the Scene Manager dialog.

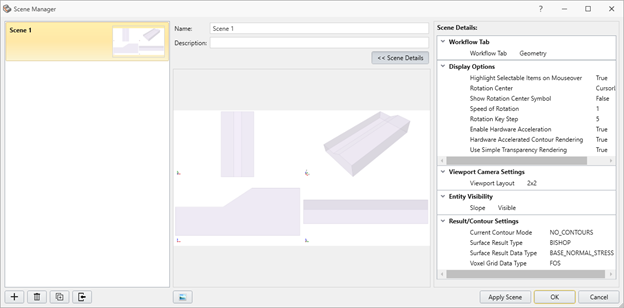
When a scene is selected, users can click >> Scene Details to view all of the settings associated with that scene. Additionally, the option to copy the scene screenshot to the clipboard will become enabled.

Additionally, there are also options to:
- Delete scenes
- Copy Scene Properties
- Import Scenes
Apply Scene
Scenes can be applied to the project either through the Scene Manager dialog, with the Apply Scene button, or by selecting the desired scene in the scene drop down in the bottom right of the Slide3 screen.
Update Scene
To update the settings of a scene, this can easily be done by selecting View > Scenes > Update Scene…, or through the option in the bottom right corner of the main screen  . This will update all options that were previously chosen for that scene with what is currently being displayed.
Import Scenes
There is an option to import scenes from other projects, which will take the camera settings only for each scene and bring them into the current project. To import a different project’s scenes:
- Select File > Import > Import Scenes (Camera Settings)….
- The file explorer will open and will be looking for xml type files. The xml file for each project will be created on saving and will contain the scene data for the project.
- Navigate to the desired project folder and select the xml file associated with the project file to import its scenes.
The imported scenes will be imported and viewable in the Scene Manager dialog.