11 - Batch Compute
1.0 Introduction
The Batch Compute option helps users quickly generate results for several SWedge model files at a time.
This tutorial will familiarize you with the Batch Compute feature by Batch Computing from select SWedge tutorial files.
Topics Covered in this Tutorial:
- Add Input SWedge Model(s) to the Batch Compute File Queue
- Output the SWedge Batch Compute Results File
Finished Product:
The finished products of this tutorial can be found in the Tutorial 11 Batch Compute folder, located in the Examples > Tutorials folder in your SWedge installation folder. Inside, you will find:
- Tutorial 1 Quick Start.swd7 SWedge model file
- Tutorial 2 Probabilistic Analysis.swd7 SWedge model file
- Tutorial 3 Combination Analysis.swd7 SWedge model file
- Tutorial 1 Quick Start folder containing the computed results files
- Tutorial 2 Probabilistic Analysis folder containing the computed results files
- Tutorial 3 Combination Analysis folder containing the computed results files
2.0 Batch Compute
- If you have not already done so, run the SWedge program by double-clicking the SWedge icon in your installation folder or by selecting Programs > Rocscience > SWedge > SWedge in the Windows Start menu.
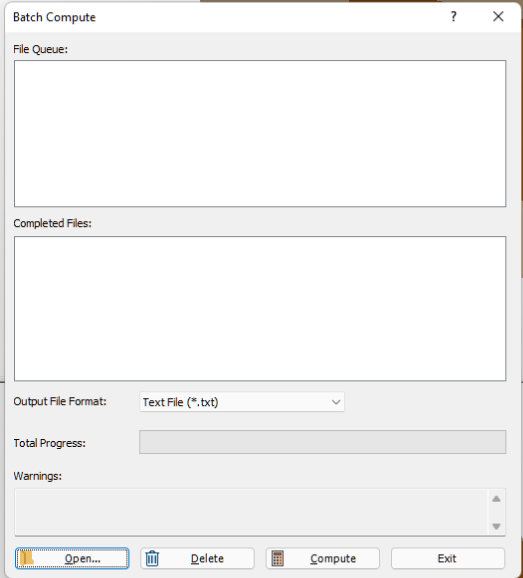
The Batch Compute dialog allows you to add SWedge model files to the queue, select an output format, and compute the results. To open the dialog:
- Select: File > Batch Compute


2.1 SWEDGE FILES
For the purpose of demonstration, we will run Batch Compute on the three SWedge tutorial files that were already created for you, located in the Examples > Tutorials folder in your SWedge installation folder:
- Tutorial 1 Quick Start.swd7
- Tutorial 2 Probabilistic Analysis.swd7
- Tutorial 3 Combination Analysis.swd7
- Create a folder called Tutorial 11 Batch Compute and copy the three SWedge tutorial files to this folder.
2.2 ADD FILES TO FILE QUEUE
To add multiple files to the File Queue:
- Select Batch Compute
 from the File menu to open the Batch Compute dialog.
 - Select the Open
 button to open a standard dialog to choose a directory.
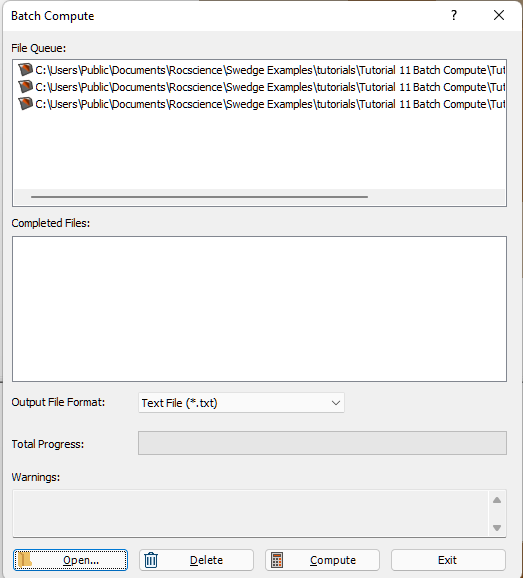
 - Navigate to the Tutorial 11 Batch Compute folder containing the three SWedge tutorial files and Select Folder.
You will see the three SWedge files appear in the File Queue.

3.0 Output Result Files
Results files are automatically generated and saved into the same directory as the input model files after Batch Compute is complete. Before we run Compute, first ensure that the Output File Format is set to the desired format. Users can select from either Text File or Excel format.
3.1 TEXT FILE FORMAT
While still in the Batch Compute dialog:
- Set the Output File Format dropdown to Text File.
- Select the Compute button to start the batch computing process.
The Total Progress can be seen at the bottom of the dialog. When files have finished computing, they will appear in the Completed Files list box.

- When all files have finished computing, select Exit to close the dialog.
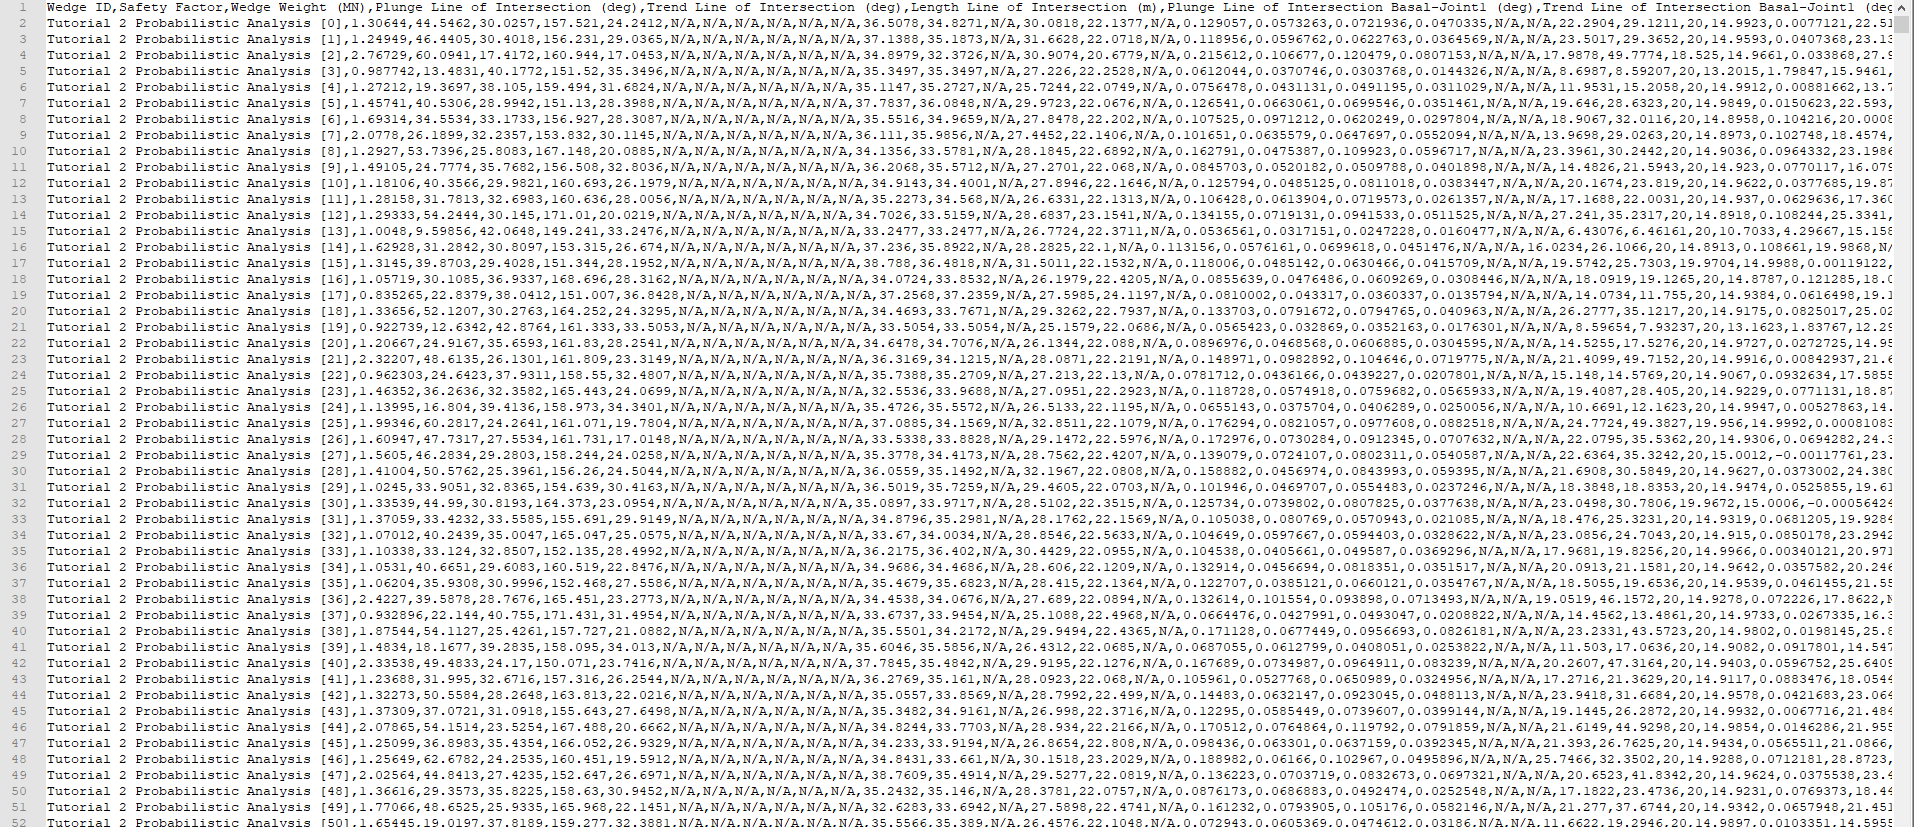
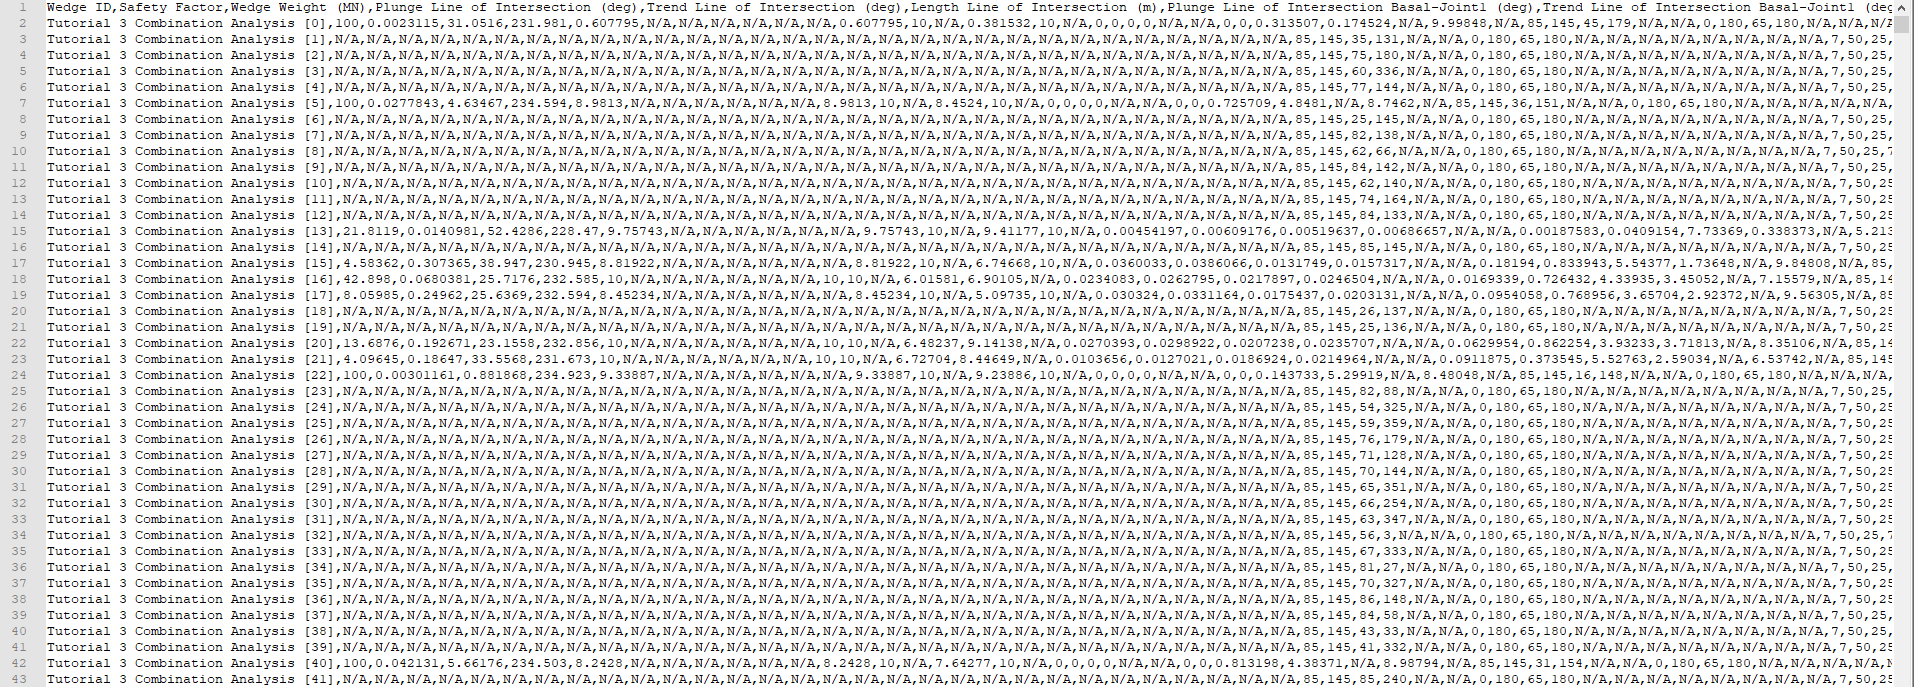
For each input SWedge model file, a Results text file (.txt) containing all results data is generated.
- Take a look at the Results.txt result files.
For a Deterministic Analysis (Tutorial 1 Quick Start.swd7), only one row of results data is outputted following the header row. Each data type is separated by a comma (,) for easy parsing.

For a Probabilistic Analysis (Tutorial 2 Probabilistic Analysis.swd7), all probabilistic samples are outputted following the header row. Each row of results data corresponds to a sample wedge. Each data type is separated by a comma (,) for easy parsing. In this model, all 10,000 sample results are contained within the output file.

For a Combinations Analysis (Tutorial 3 Combination Analysis.swd7), all joint combinations (both valid and invalid) are outputted following the header row. Each row of results data corresponds to a joint combination wedge. Each data type is separated by a comma (,) for easy parsing. In this model, all 63,190 combination results are contained within the output file.

3.2 EXCEL FILE FORMAT
Now, we will do the same as before, but this time we will generate the results as an Excel output file format.
- Select the Batch Compute
 option from the File menu to open the Batch Compute dialog.
 - Select the Open
 button to open a standard dialog to choose a directory.
 - Navigate to the Tutorial 11 Batch Compute folder containing the three SWedge tutorial files and Select Folder.
- Set the Output File Format dropdown to Excel.

Excel file format batch compute - Select the Compute button to start the batch computing process.
- Since there are already Text File results in the results directory, a popup will appear with the message "Results folder(s) not empty. Duplicated results file(s) will be overwritten. Continue?". Select Yes.
- When all files have finished computing, select Exit to close the dialog.
You will see the three SWedge files appear under the File Queue list box.
For each input SWedge model file, an Excel file (.xlsx) containing all results data is generated.
- Take a look at the Results.xlsx result files.
For a Deterministic Analysis (Tutorial 1 Quick Start.swd7), only 1 row of results data is outputted following the header row. Each data type is separated by a column.

For a Probabilistic Analysis (Tutorial 2 Probabilistic Analysis.swd7), all probabilistic samples are outputted following the header row. Each row of results data corresponds to a sample wedge. Each data type is separated by column. In this model, all 10,000 sample results are contained within the output file.

For a Combinations Analysis (Tutorial 3 Combination Analysis.swd7), all joint combinations (both valid and invalid) are outputted following the header row. Each row of results data corresponds to a joint combination wedge. Each data type is separated by row. In this model, all 63,190 combination results are contained within the output file.

This concludes the tutorial.