RSLog Now Integrates with Slide2 and Settle3
- Steve Chai, Geotechnical AI Manager at Rocscience
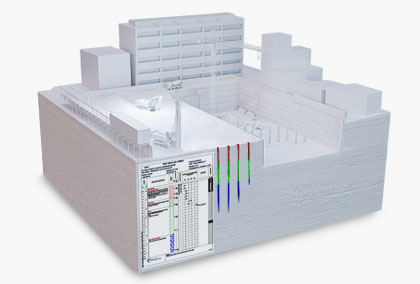
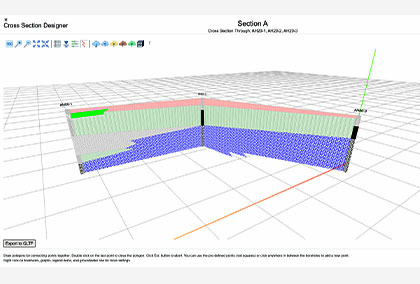
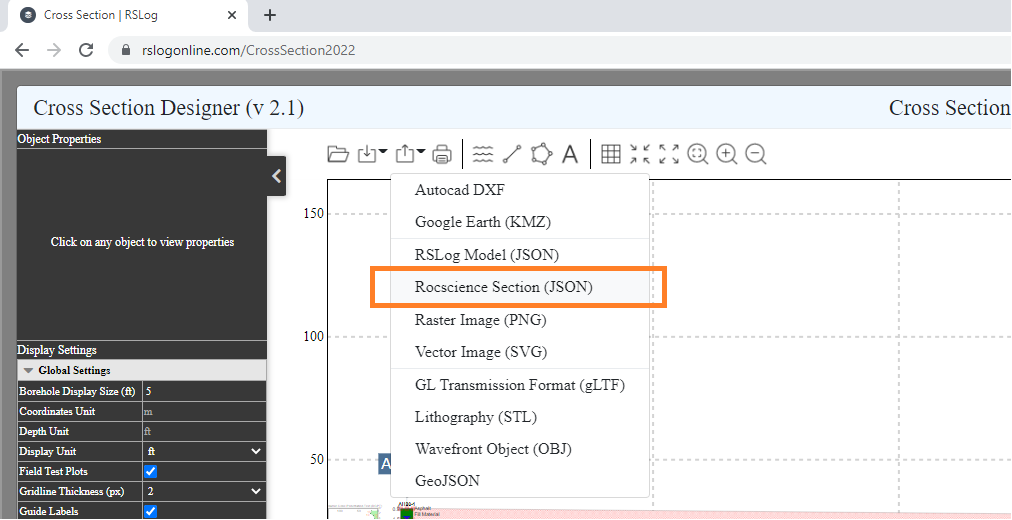
RSLog is Rocscience’s easy-to-use web-based borehole log application. It allows users to log their test borehole data on an online platform which can be accessed from anywhere, on any device. One of the newest features in RSLog is the cross-section designer. With this feature, the engineer can design cross sections between their test holes and modify the cross sections to their liking with simple CAD tools.
In the latest update of Slide2 (v9.025) and Settle3 (v5.018), we have integrated with RSLog, allowing users to easily import their RSLog cross sections into Slide2 and borehole log data into Settle3.
Slide2-RSLog Integration
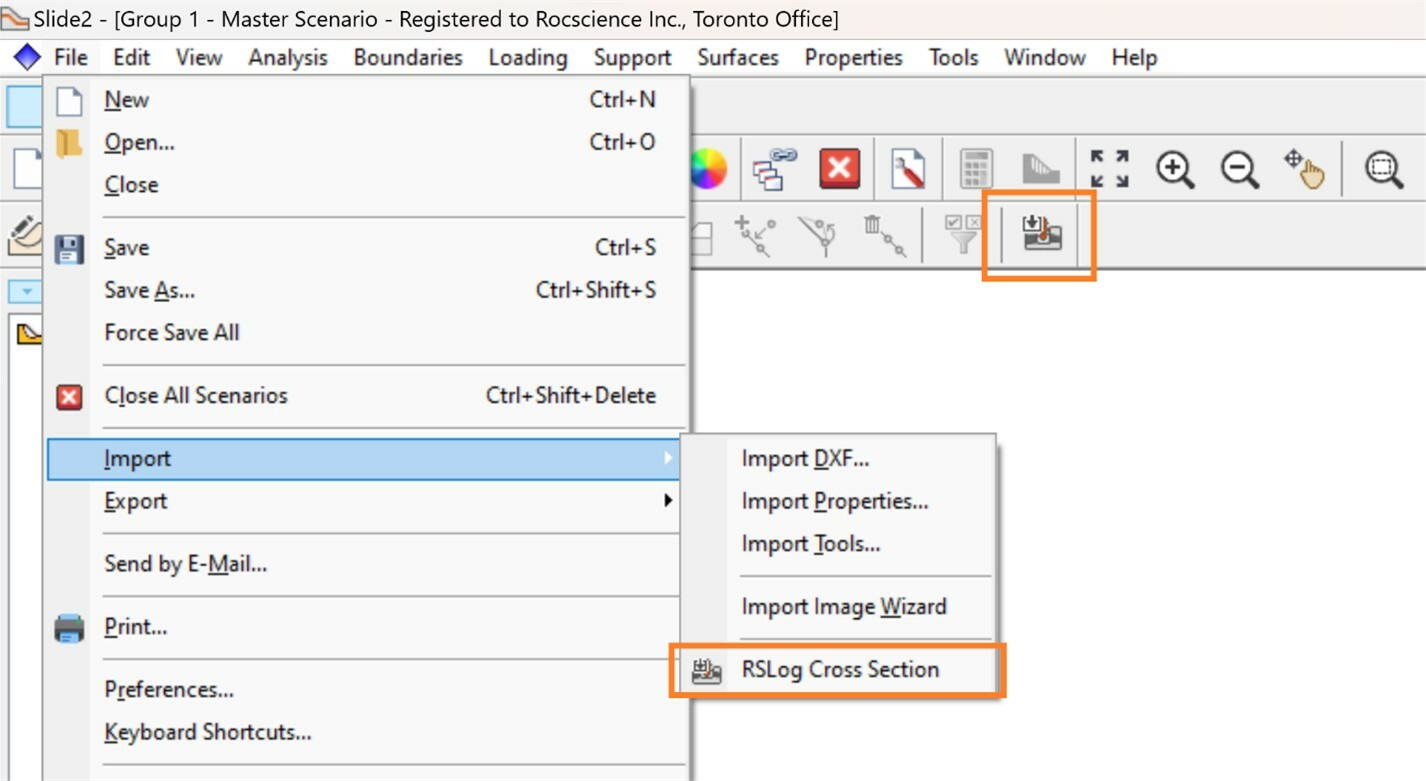
To access the feature in Slide2, select File > Import > RSLog Cross Section, or select the RSLog Import button
in the toolbar.
Online Import
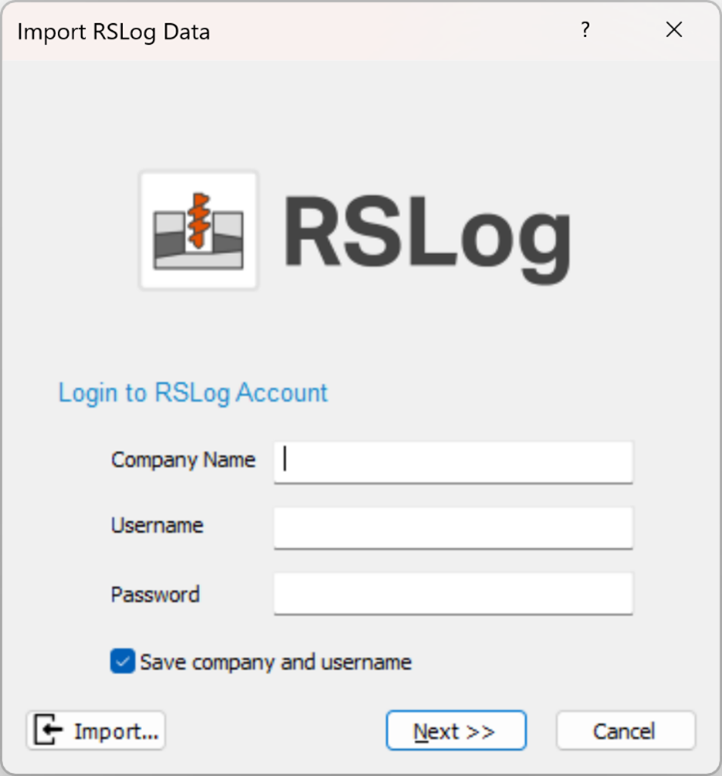
Input your company credentials in the resulting dialog and click Next.
Slide2 will log into your RSLog account live, and you will be taken to the list of projects you have defined in your account, along with an indication of how many cross sections are defined in each project.
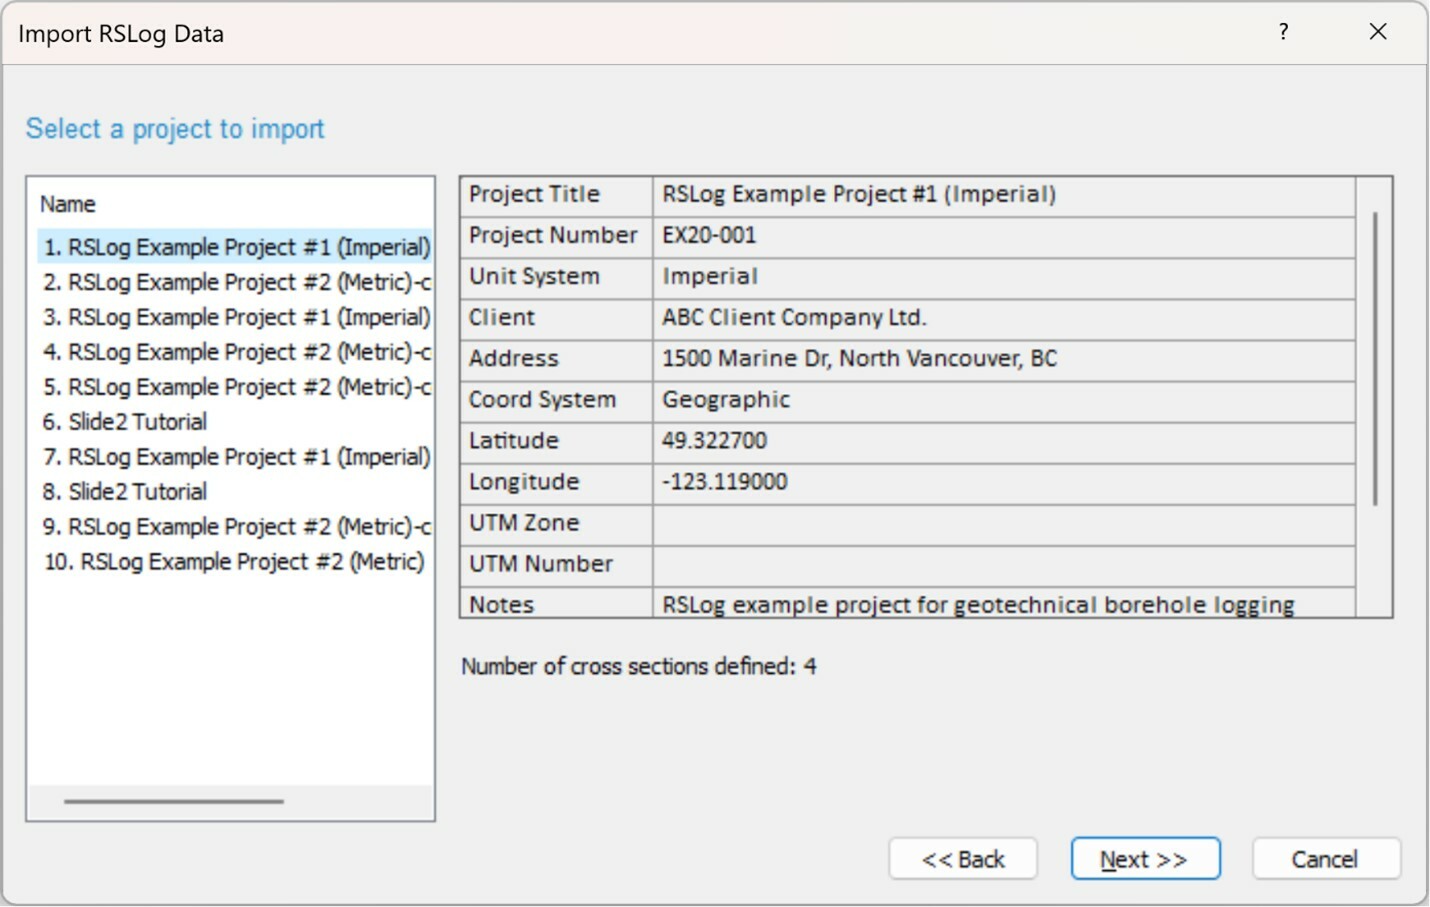
After selecting the desired project and clicking Next, the final page will show you the cross sections you have defined in that project along with a preview image:
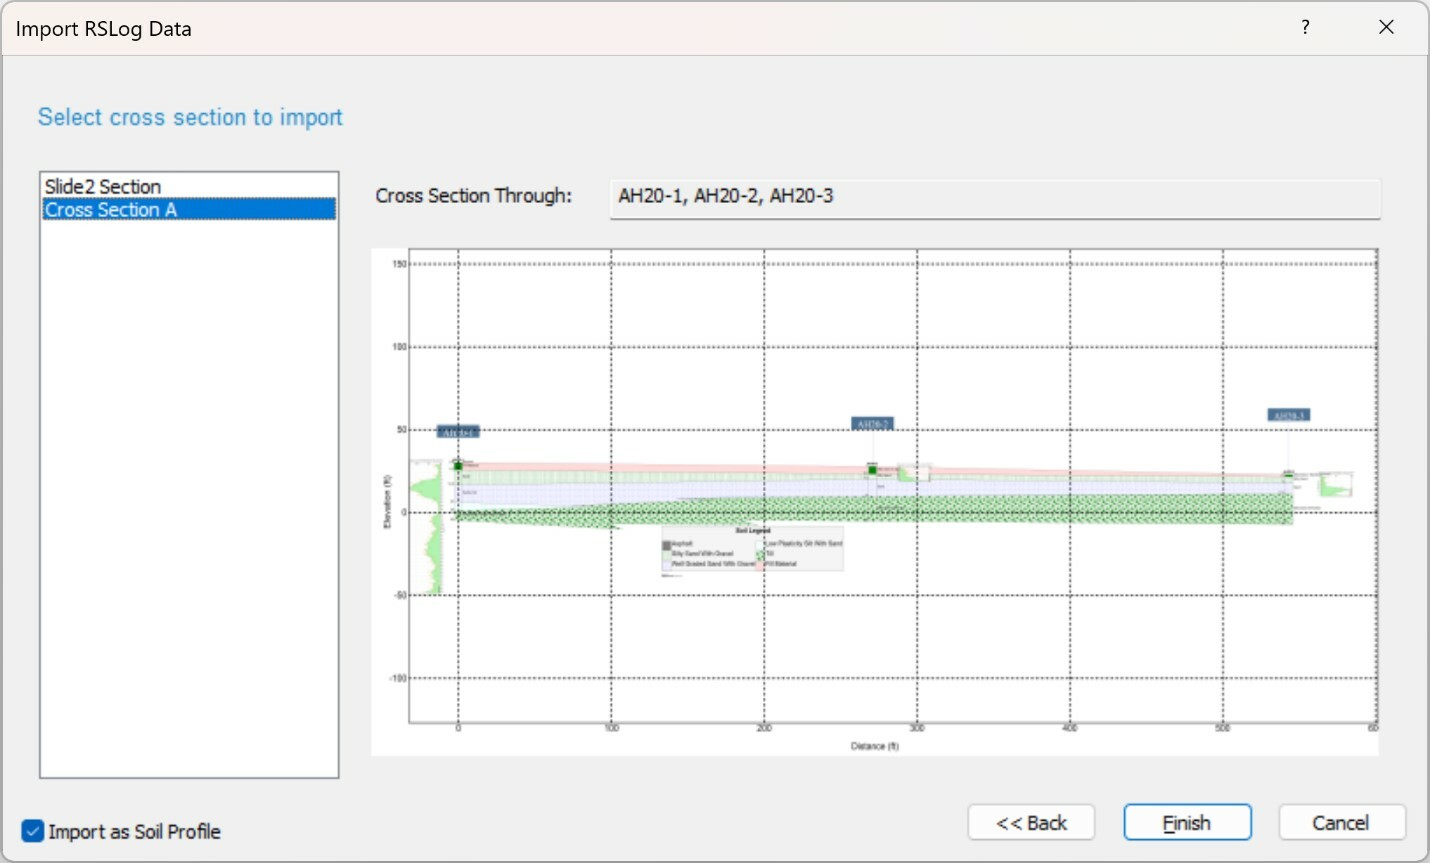
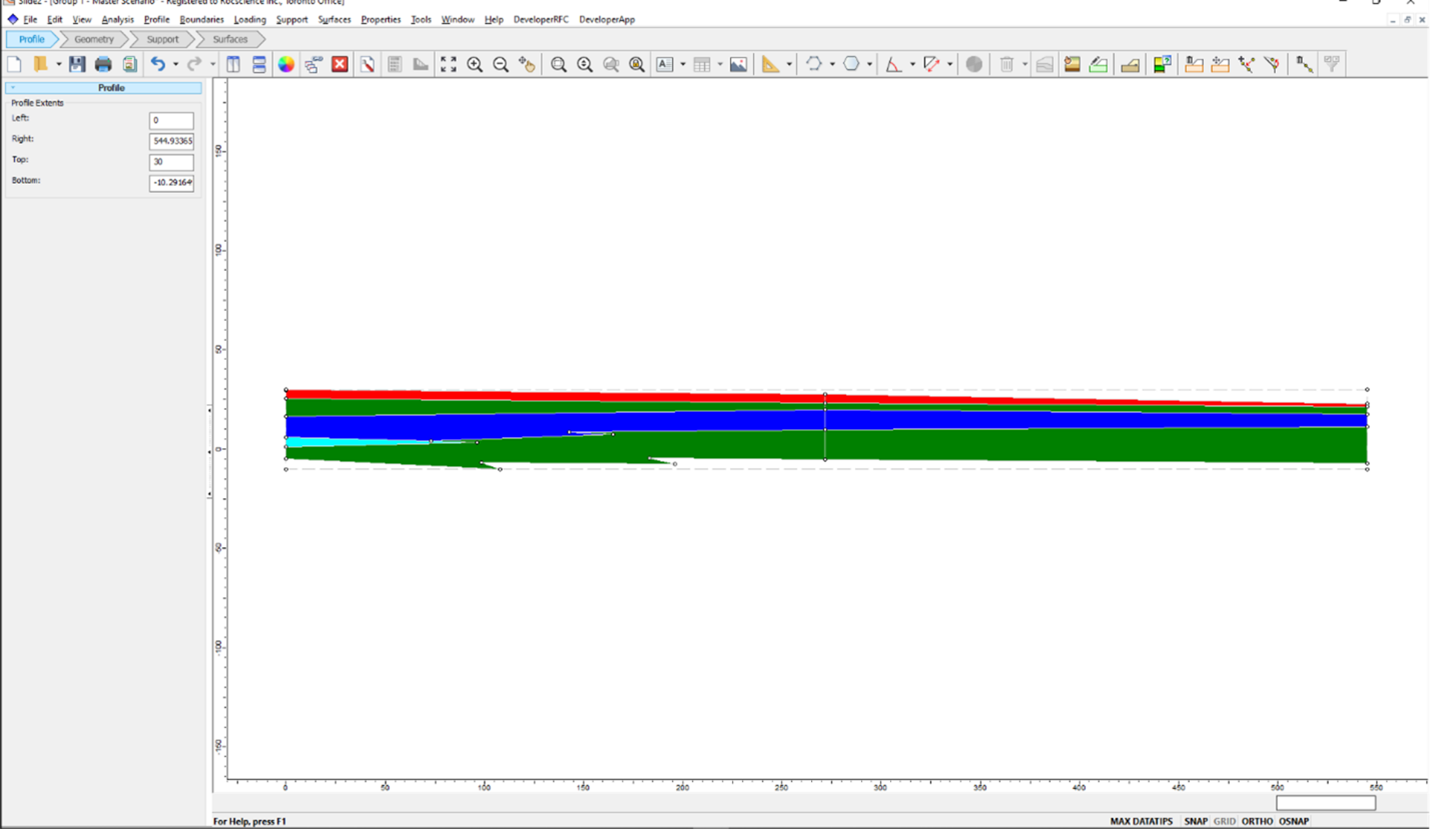
By default, the “Import as Soil Profile” box is on. This will bring the cross section in as a soil profile and allow you to cut the desired slope out of the profile. Alternatively, it can be unchecked to bring the soil profile in as the final slope.
Note that all the material names, material colours, and piezometric lines will be imported, but material properties and piezometric line assignments are left to the user.
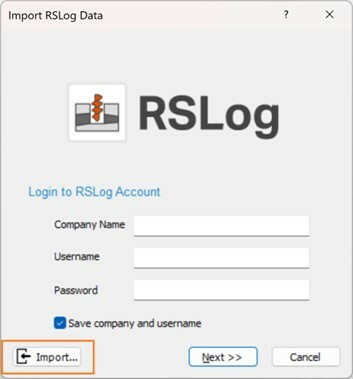
Offline Import
Worried about your internet connection in the field? Export your cross-section from RSLog ahead of time and save it to your machine. In your RSLog cross-section, select Export > Rocscience Section (JSON):
Then import it to Slide2 using the Import button in the dialog:
Learn More
Learn more about the integration with the Slide2-RSLog tutorial.
Settle3 - RSLog Integration
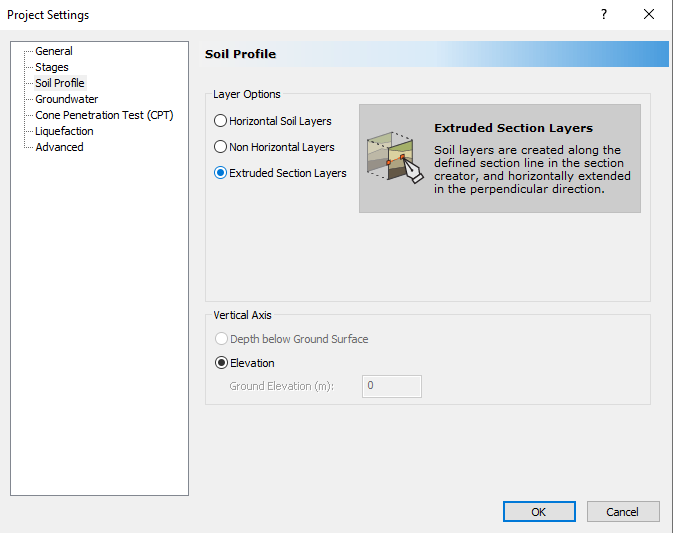
Select the ‘Extruded section layer’ in Project Settings. Then, select Soils>Import from RSLog and log in using the dialog as shown below.
Once you are logged in, you’ll be able to select which project you wish to import the borehole data to.
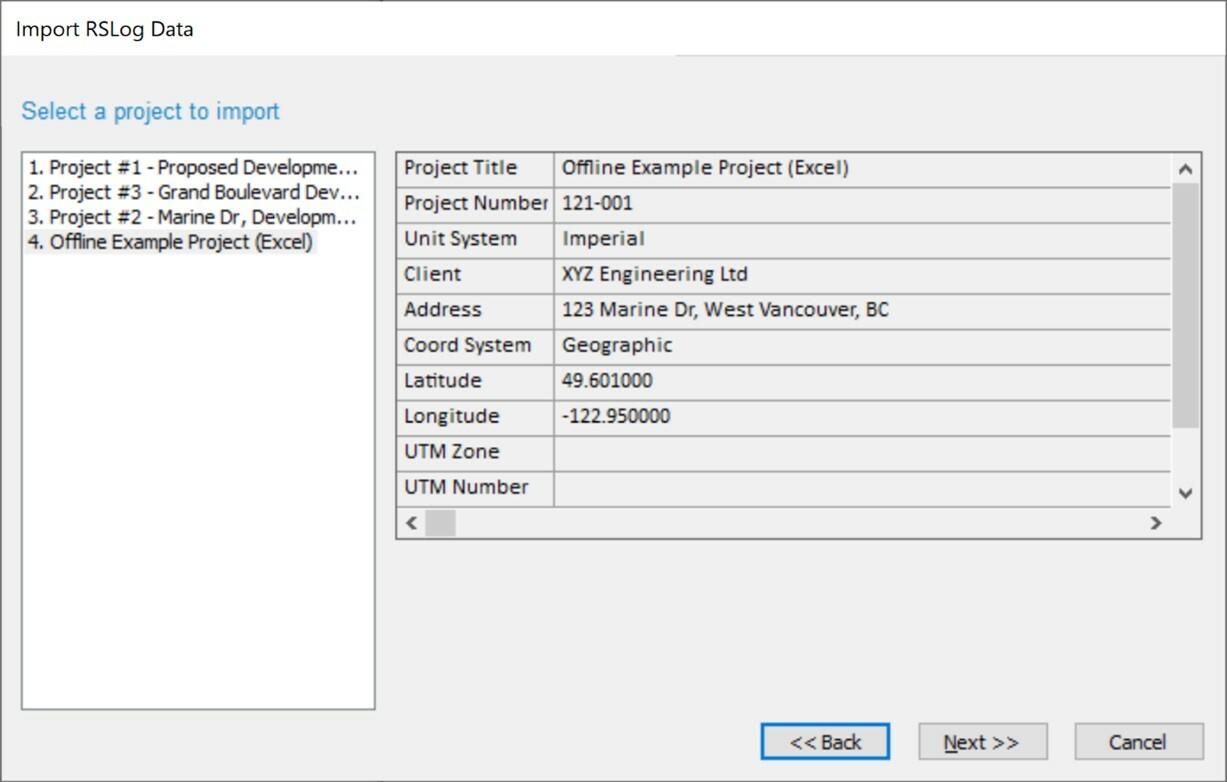
You’ll be able to see the details for each project on the right panel as shown above. This will make it easier for you to identify specific projects and review the information that is required for importing borehole data.
In case, there is any missing data, Settle3 will pop a warning message up with the missing information details and will ask you to address the issue in your RSLog account. You can update the missing material in your RSLog account and continue to import boreholes.
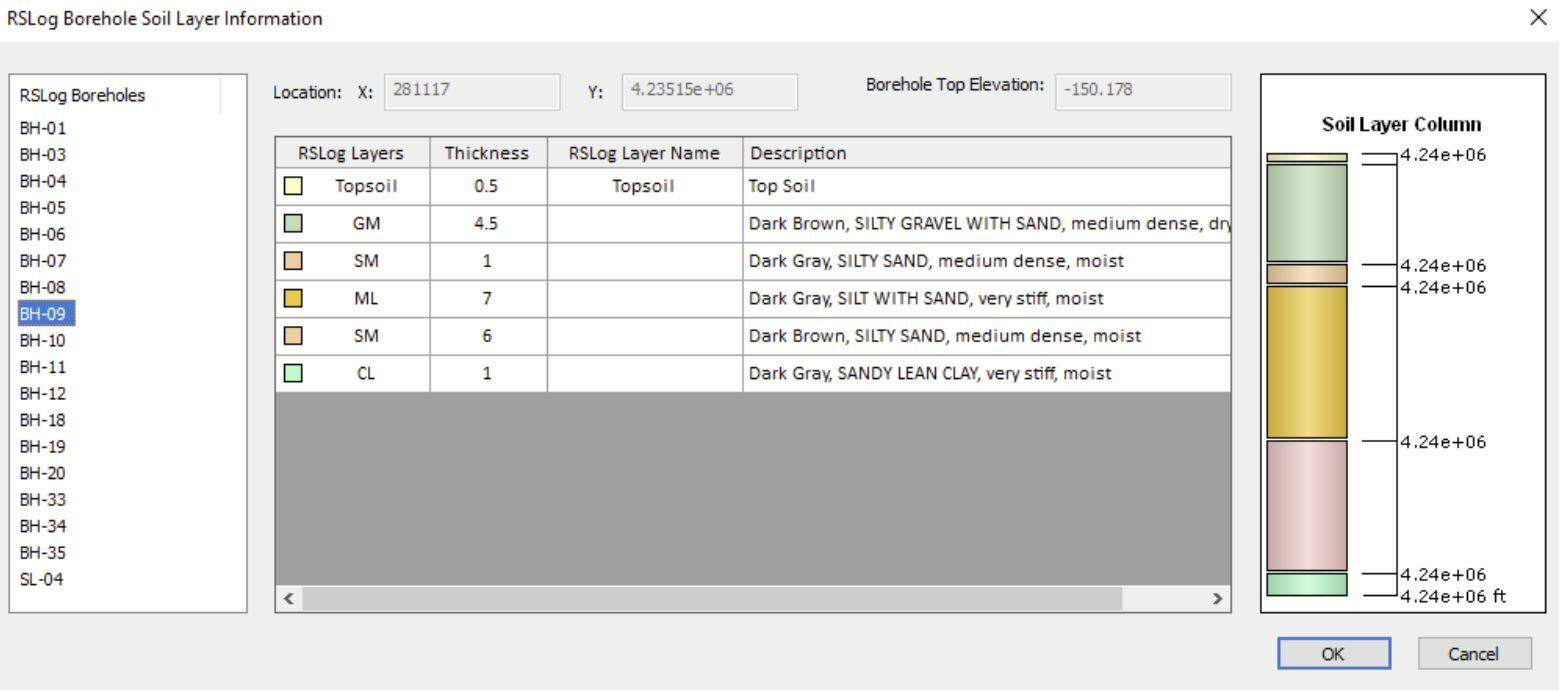
After importing the borehole data, you’ll be able to see a list of boreholes along with the detailed stratigraphy for each borehole:
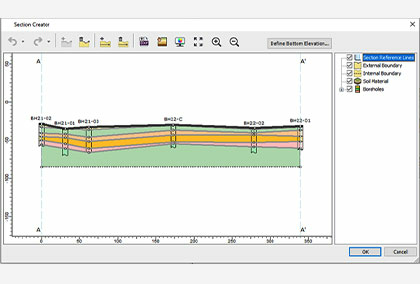
Now, hit Finish and you will be able to see the imported boreholes in the plan view. Select Soil>Section Creator and you’ll be able to see the imported boreholes in the dialog shown below:
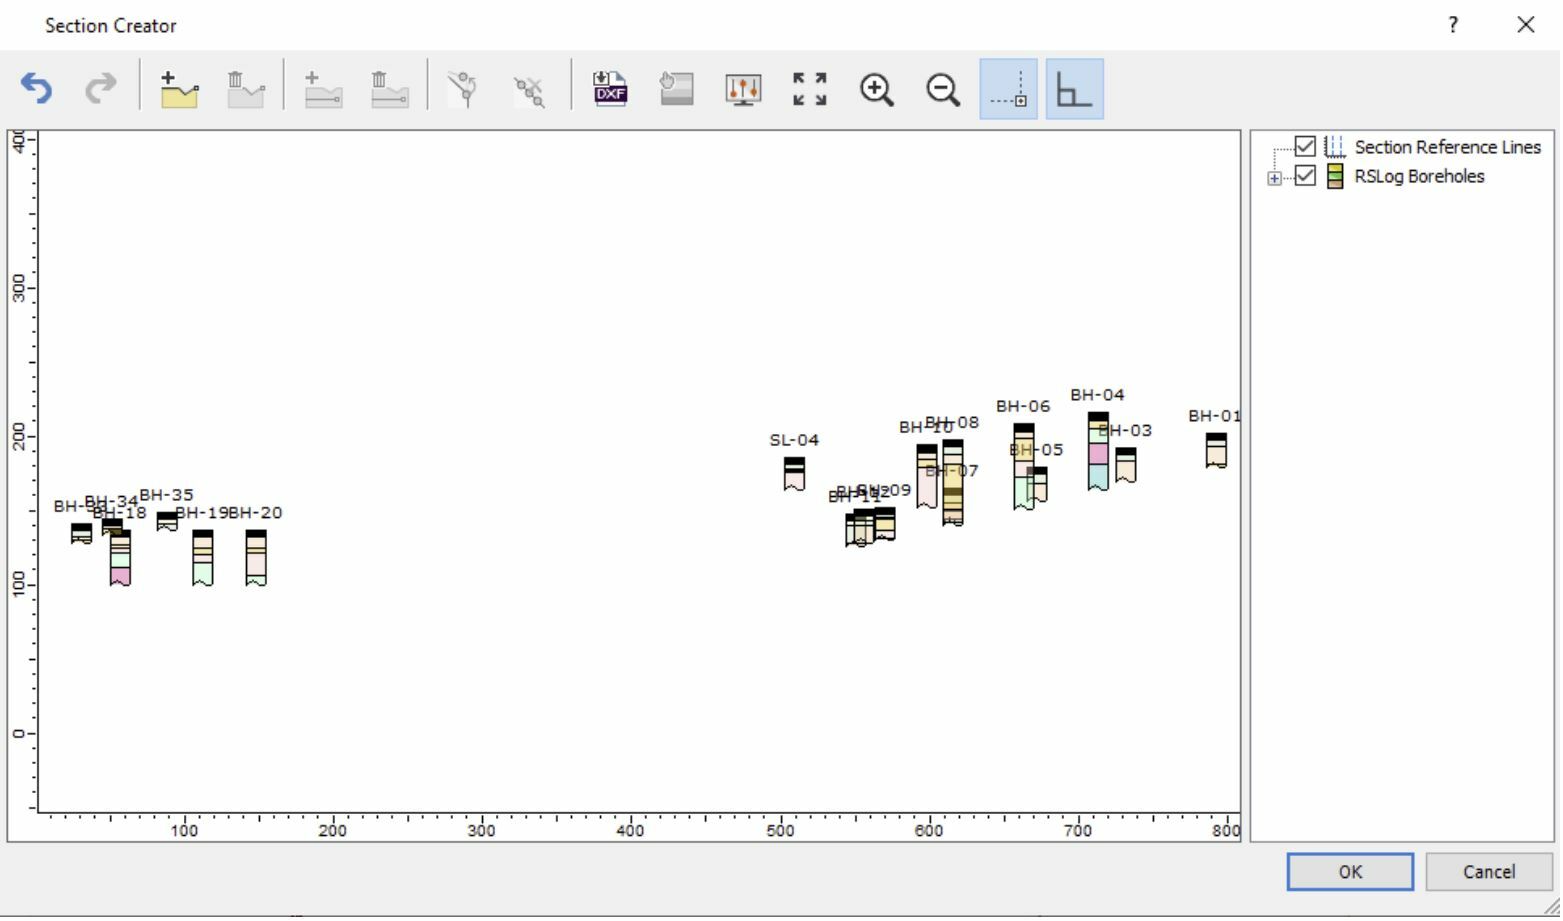
Click OK to see the completed soil profile generated with the boreholes.
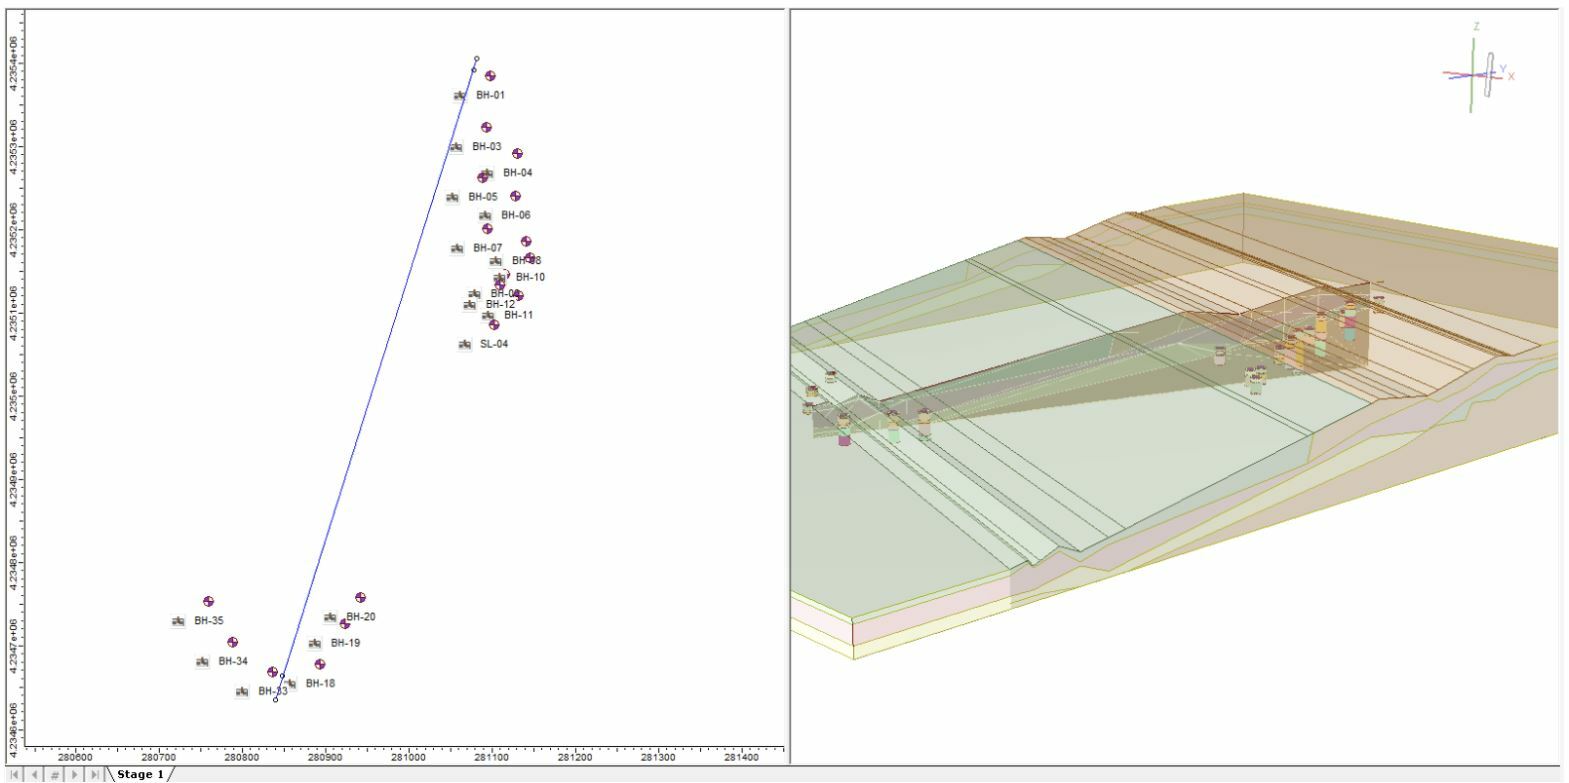
The imported RSLog boreholes will have RSLog symbols beside the text. Simply right-click on the boreholes and view the borehole to see the full list of boreholes with soil layering.
Further, you can use the soil model created with the section creator for settlement analysis.
Need More Details on this Integration?
To get more insights, follow along with the Settle3 - RSLog tutorial.
Getting your Data into RSLog
Worried about getting your old data into RSLog? RSLog allows users to import various file types directly into the program, including gINT, Excel, DIGGS, and AGS.
More from Rocscience