The RS3 Playbook: Here Are Six Tips for a Smoother Workflow
RS3 is packed with features that make it easier to perform complex geotechnical analysis. But are you making the most of its capabilities? These tips from Dr. Sina Moallemi, Product Manager of RS3, will help you save time, enhance your workflow, and get the best out of your RS3 simulations.
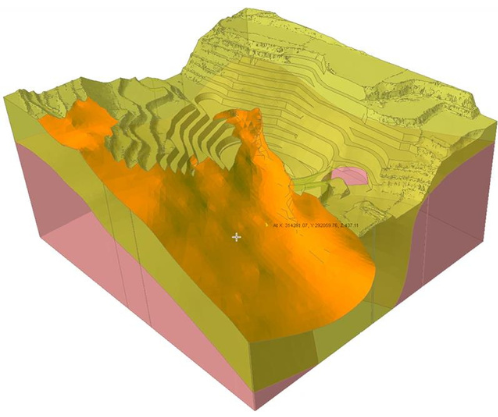
1. Surface Selection, Simplified
RS3’s surface selection tools make navigating your model a breeze. Here’s how you can use them:
- Shift + Select: Quickly select multiple connected surfaces of a single entity, without deselecting the rest of your model. Just hold down Shift and click the surfaces you need – which is perfect for refining your selection or isolating specific regions.
- Select Top Faces of External: To select only the top faces of the model, simply right-click, hover over Special Select and hit Select Top Faces of External. This will help you apply hydraulic boundary conditions and ponded water load. Note that this option won’t be available if the model doesn’t have an external volume.

- Material Boundary Selection: When you need to identify the interface between two material layers, right-click, hover over Special Select, and click Select Faces Between Materials. This can be very helpful if you need to define interfaces between multiple rock layers.
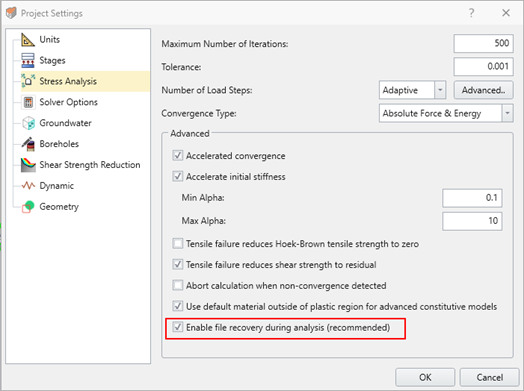
2. Save and Restart for Long Simulations
Long simulations can test your patience, but RS3’s Save and Restart feature ensures you won’t lose progress. If your analysis was cancelled for any reason, say if a licensing error occurred and RS3 stopped during a simulation, you can still continue the analysis without repeating the computed stages. Head to the Compute menu, hit compute, and then RS3 will automatically continue the analysis from the last computed stage.
To make sure this option is available for your project, go to project settings and under the Stress Analysis tab, make sure the checkbox for File Recovery is active:
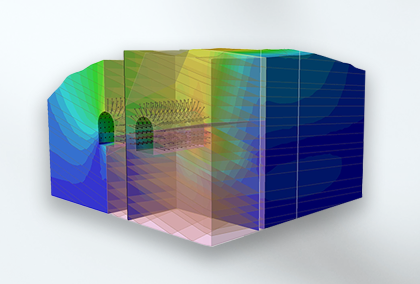
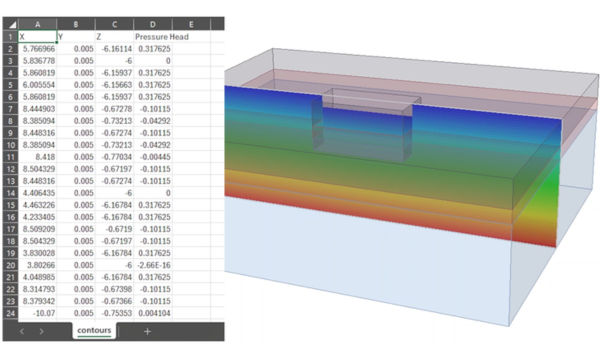
3. Export Data on a Contour Plane
Analyzing data on a specific contour plane? You can export detailed results from your contour plane directly by:
- Navigating to the Legend pane and using the Data Contour dropdown menu to choose the contour type you want to visualize. The available options depend on the Result Type selected, such as principal stresses, displacements, or strength factors.
- Go to the Interpret menu and select Show Data on Plane > Contour Plane (e.g., XZ Plane) to create a contour plane and visualize the selected data.
- Once the contour plane is displayed, select the contour plane from visibility tree, go to Interpret > Export Contour Surface, and then save the data (CSV file). In the file, you can see the list of points and the value of selected data type in that location. This will help you share specific slices of data with collaborators or for post-processing in other software.
4. Export Pore Pressure to Slide3
Working across multiple tools? Export pore pressure results from RS3 into Slide3 effortlessly by:
- Navigating to Export > Pore Water Pressure to Slide3 once your simulation is complete. This will extract all nodal pore water pressure results, as a separate file.
- Opening Slide3 and going to Groundwater > Add Water Pressure Grid, then importing the RS3 file and assigning it to the materials in the model.
5. Reuse Materials From Other Projects
You can import materials directly from other RS2 or RS3 projects to save time and maintain uniformity by:
- Opening your RS3 project.
- Navigating to Materials > Import Materials.
- Selecting the RS2 or RS3 file and choosing the materials you’d like to import.
This will minimize your need for manual input and ensure accurate material properties across projects.
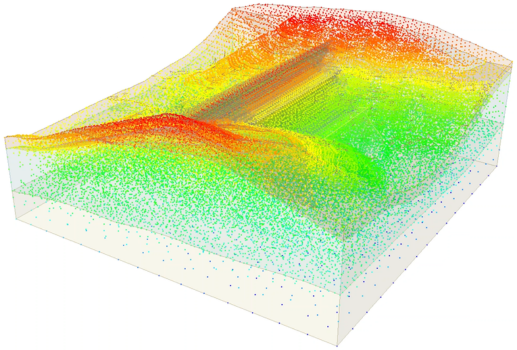
6. Visualize Results During Simulations
Why wait for the simulation to finish to see your results? You can visualize results in real-time during simulation by:
- Opening the model once any stage’s simulation is complete.
- Going to the results tab.
- Selecting Results View to watch stress distributions, displacements, or other key metrics update in real time – you can see all results until the computed stage.
You’ll get immediate insights and help you adjust settings or parameters before the simulation concludes.
Maximize Your RS3 Experience
Whether you’re refining your surface selections, streamlining data exports, or integrating with other software, the tips in this playbook will help you work smarter, not harder. You’ll wonder how you ever managed without them!