Your Guide to 3D Geometry Creation and Cleanup Challenges in Slide3 and RS3
Messy geometries are a hurdle in geotechnical modelling – small gaps, invisible disjoints, or poorly triangulated surfaces can leave you stuck troubleshooting instead of analyzing. If you’re looking for quicker solutions, Dr. Sina Javankhoshdel and Dr. Sina Moallemi held a webinar outlining strategies in Slide3 and RS3 for creating and repairing 3D models, which can help you reclaim time and reliability in your workflow.
Here, we’ll cover the webinar’s key highlights, including helpful steps for model creation and understanding common geometry cleanup challenges. In our next upcoming recap guide, you can learn more about geometry repair and tips for smoother modelling.
3D Model Creation Goals and Procedures
Creating reliable 3D models starts with clear goals and a structured process. Dr. Javankhoshdel outlined the following model creation steps as a framework:
- Import geometries: Bring in surfaces, volumes, point clouds, polylines and other geotechnical data from supported file formats.
- Confirm the number of triangulations: Simplify overly detailed geometries and dense triangulations to improve performance.
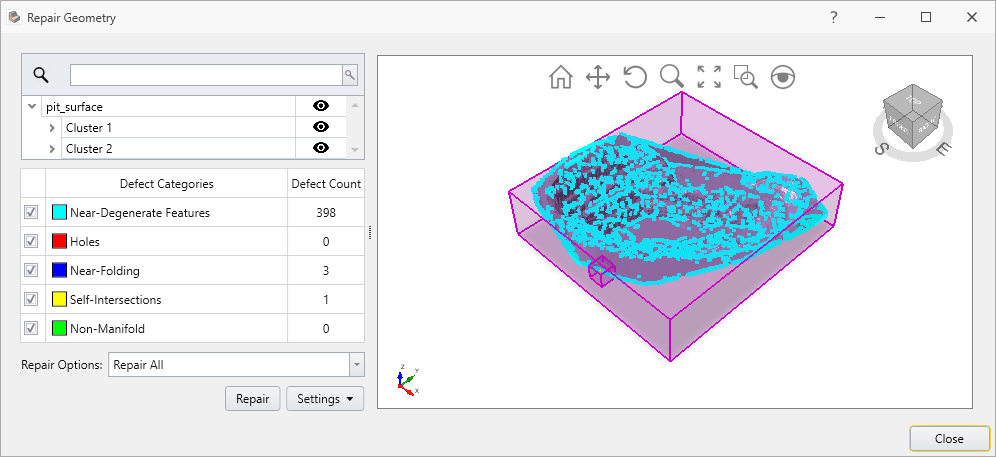
- Clean up and repair problem geometries: Fix issues like holes, self-intersections, and near-degenerate triangles using the repair tools.
- Define the external geometry: Specify external geometry components as needed for analysis.
- Define material properties: Define materials for geometries before dividing them to ensure logical continuity.
- Intersect geometries: Use "Divide All Geometry" to intersect internal and external geometries and resolve remaining issues. See the Slide3 and RS3 documentation for more information.
- Collapse small volumes: Remove unnecessary fragments to simplify the model and reduce computational time.
These steps can help to systematically build reliable 3D models that are ready for further meshing and analysis.
What Are the Most Common Geometry Cleanup Challenges?
Creating clean geometries is rarely straightforward, especially for models imported from external CAD, civil, mining, or geological engineering software. Common challenges that disrupt analysis or require significant cleanup time include:
- Disjointed entities: Geometry pieces that look connected but are not, often caused by misalignments or separate imported components, can lead to unreliable analysis results as the model doesn’t accurately reflect real-world conditions.
- Gaps between volumes: Small separations that interfere with meshing or analysis continuity, often resulting in errors or non-convergence during finite element analysis.
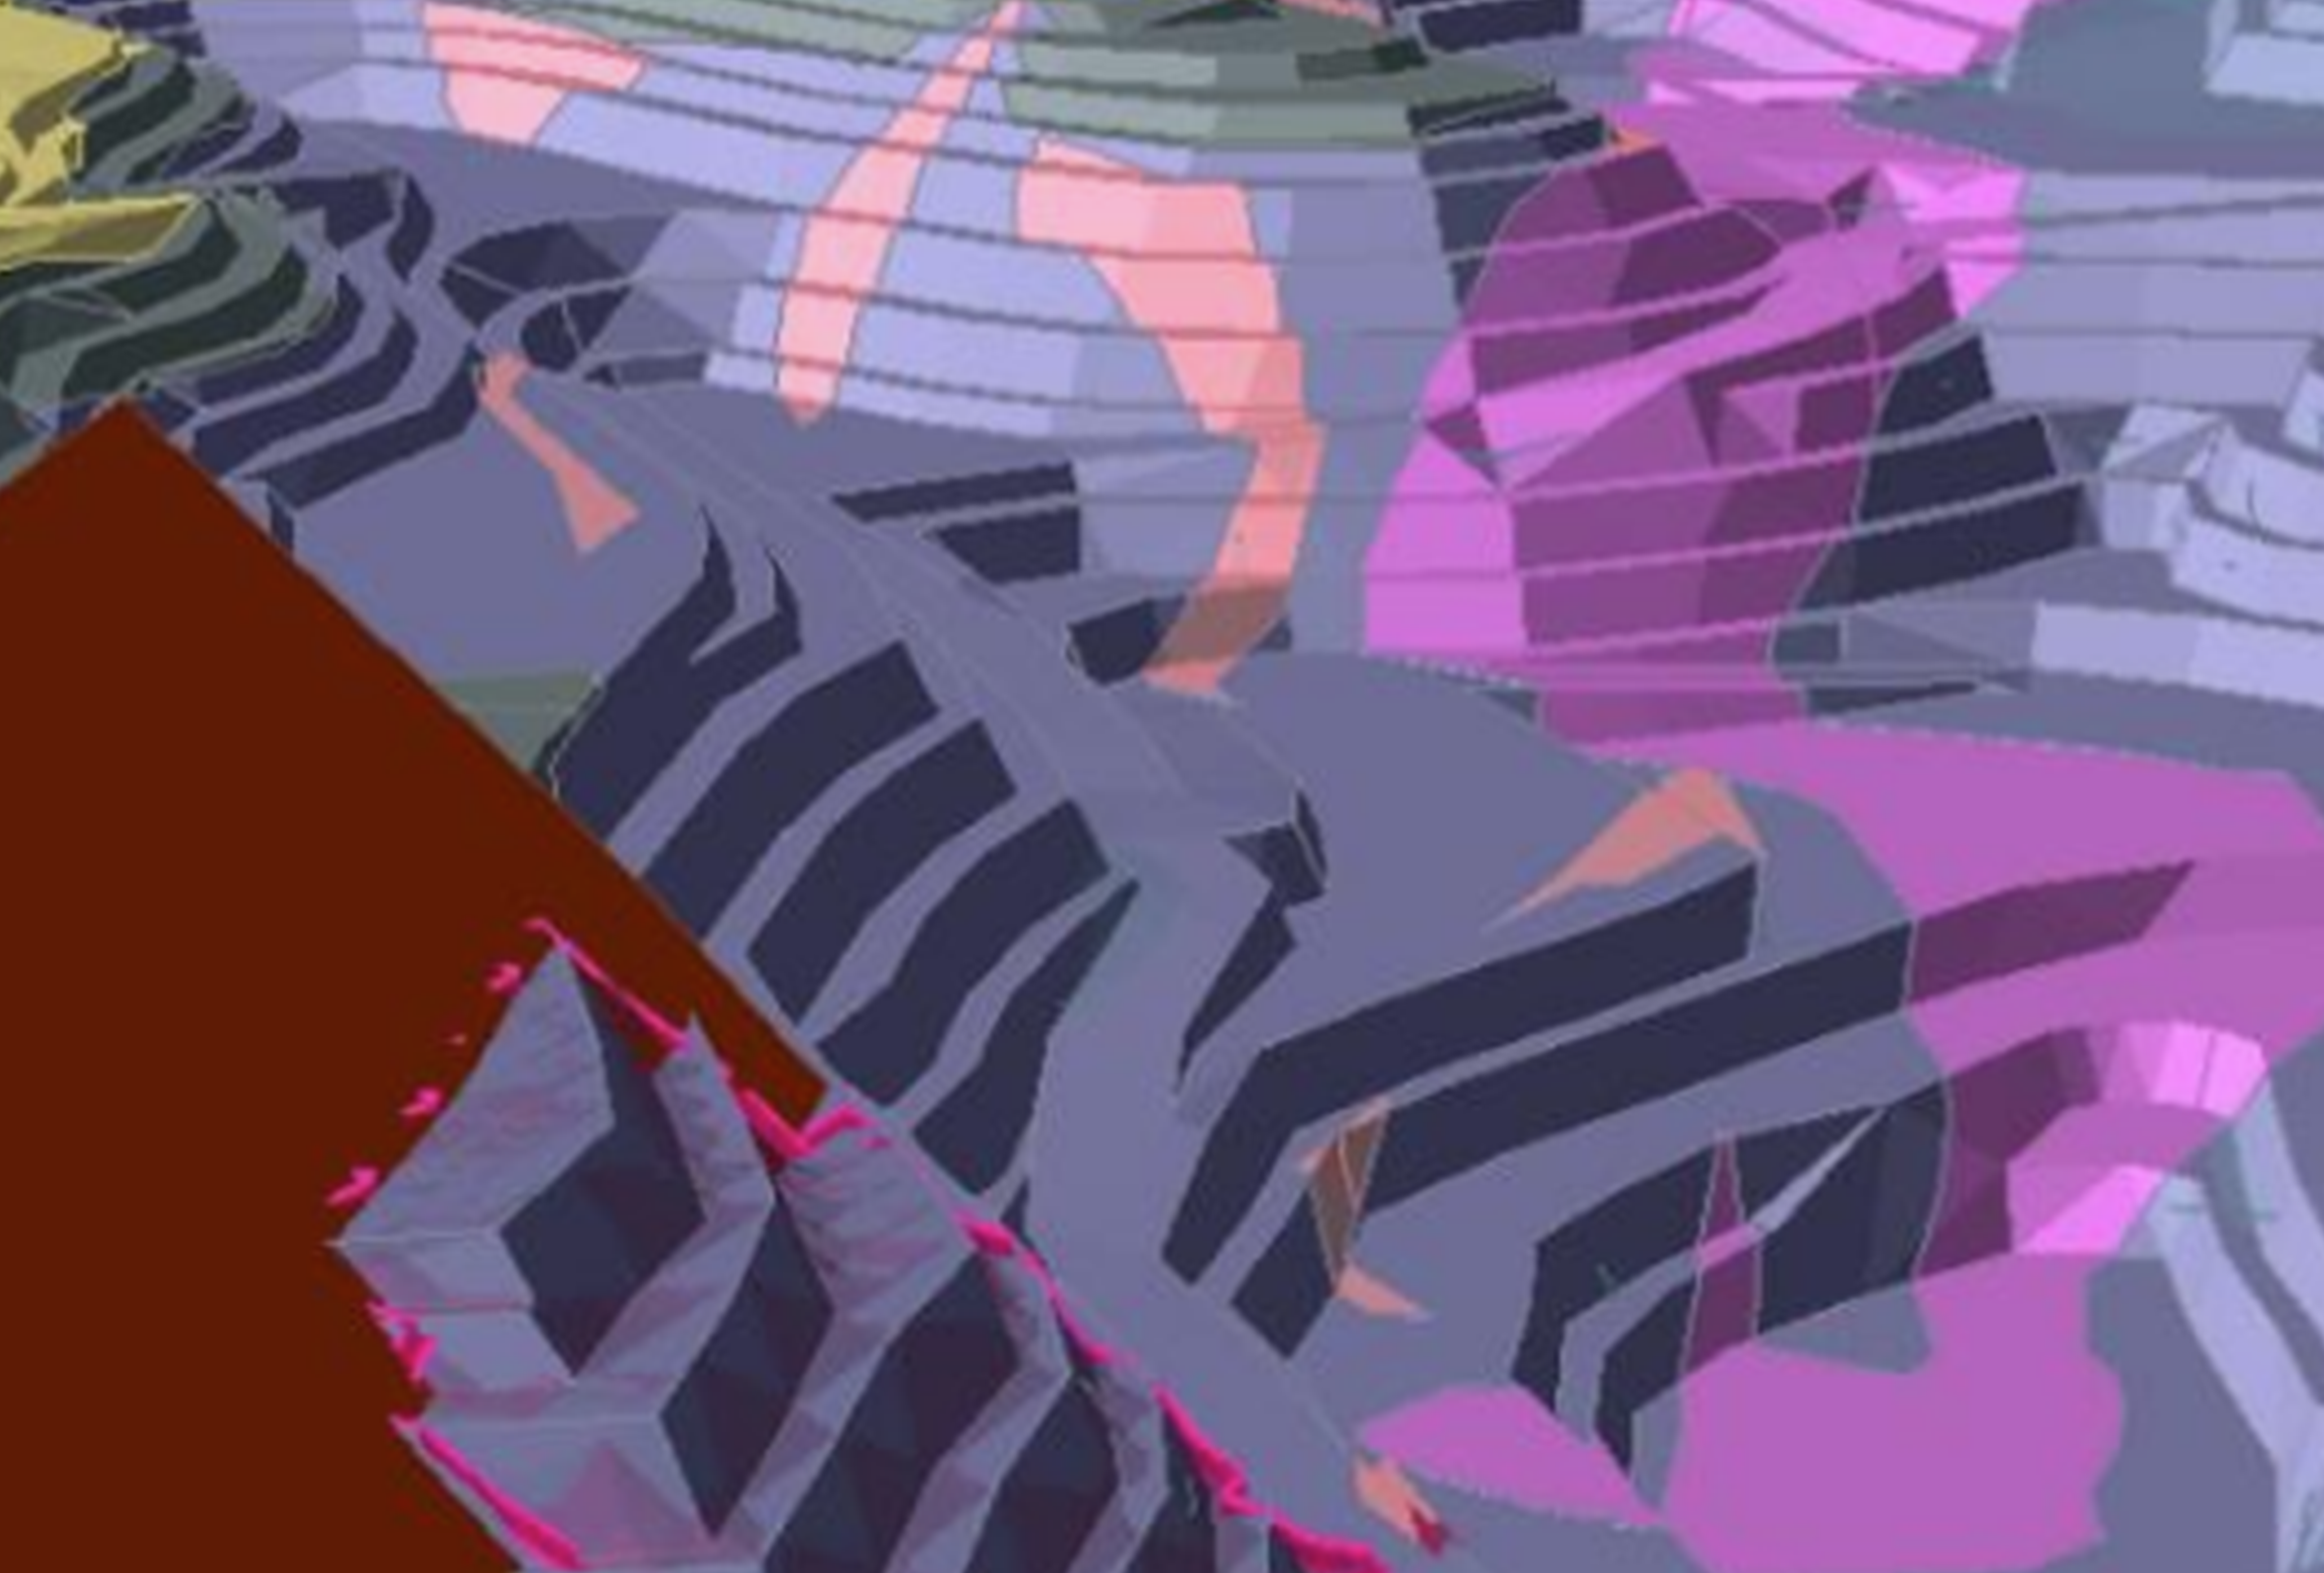
- Defective triangulations: Irregular or overly dense meshes that slow down computations and make geometry cleanup tools less effective. Poor triangulations often arise from imported surfaces with excessive detail or uneven subdivisions.
- Non-manifold geometries: Overlapping or improperly connected surfaces and volumes, including entities sharing a single edge or point, can create invalid models that cannot be meshed or processed until resolved.
Identifying these defects early prevents cascading errors later in the modelling or analysis workflow, and they can all be resolved directly in Slide3 and RS3 without relying on third-party tools.
Moving Forward With Reliable 3D Modelling
We hope you gained valuable insights into creating better 3D models – and what can go wrong – for better project outcomes! With this suggested workflow and by applying advanced cleanup techniques, you can optimize your modelling process and avoid common pitfalls.
Stay tuned for our next guide, based on the same webinar, that’ll walk you through 3D geometry repair and smoother 3D modelling in Slide3 and RS3.
